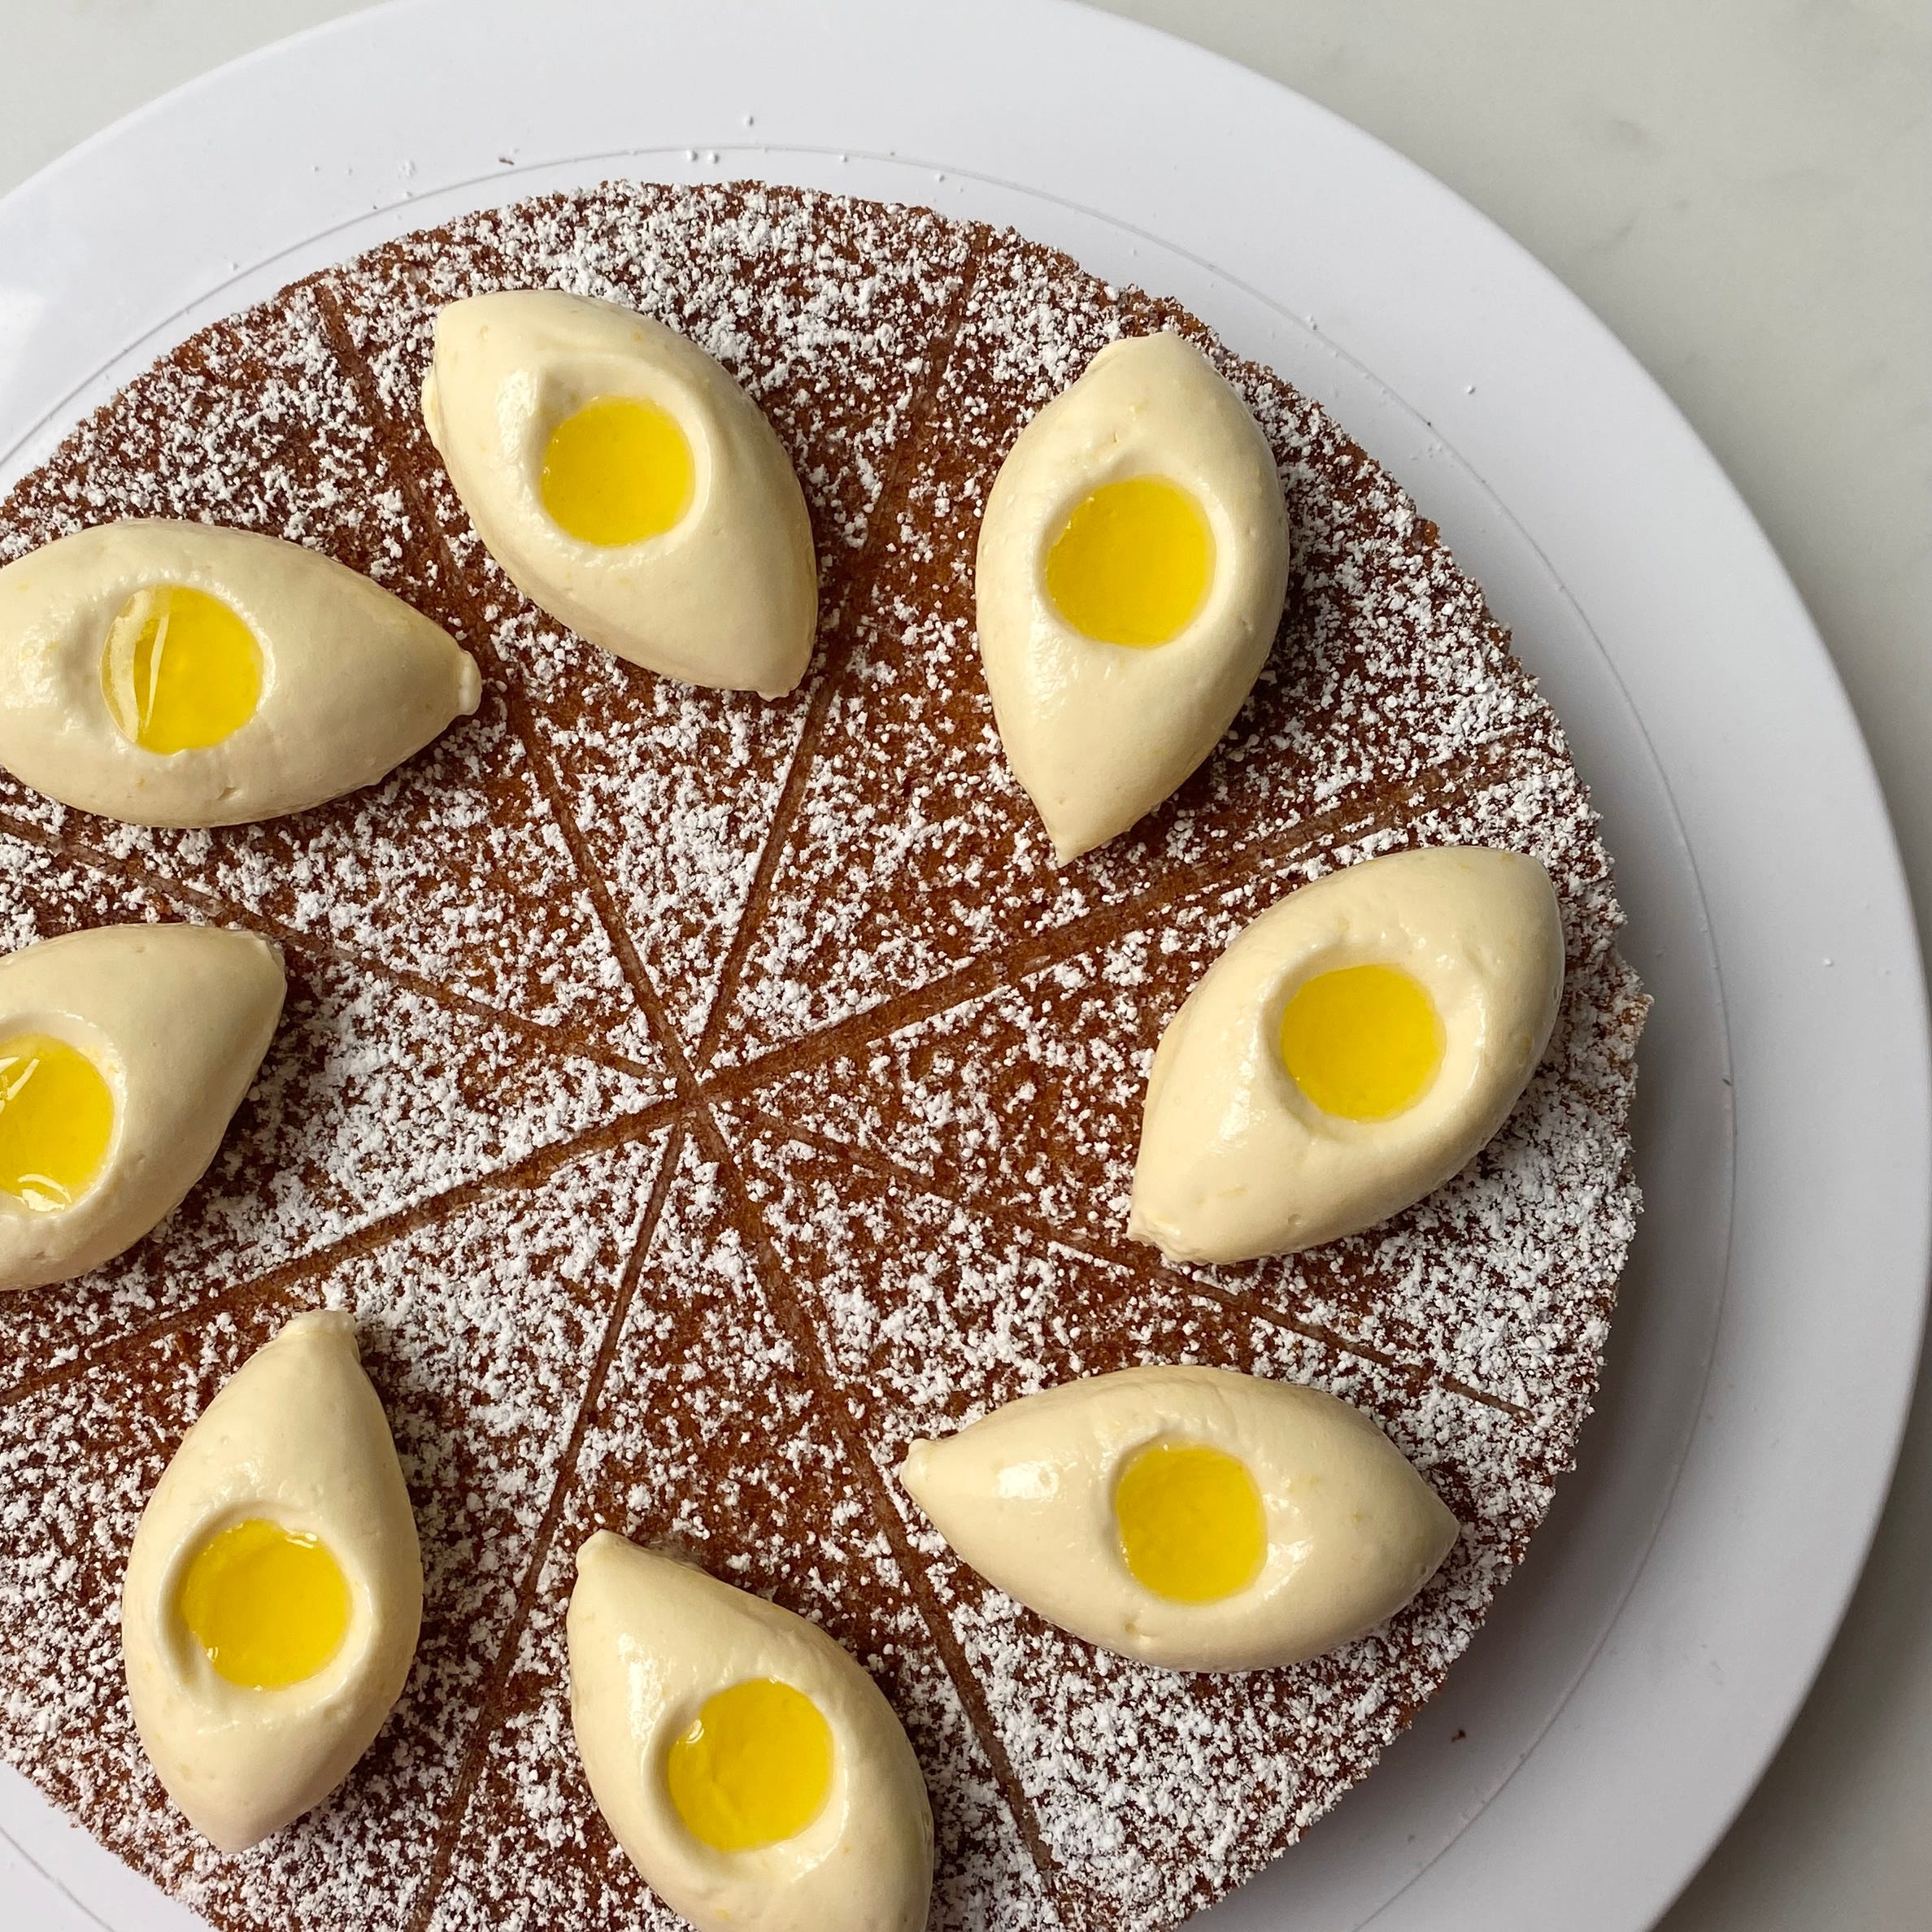
Olive Oil Polenta Cake
With verbena infused chantilly cream

Hello and thank you for being here! If you like what I do please consider becoming a paid subscriber! You’ll receive an exclusive recipe every week and you’ll get access to the full archive which includes a tonne of thoroughly tested cake and dessert recipes and you’ll be helping to support me 🩷. To upgrade your subscription hit the button below and join me for more cakey fun!
Hello! I often find that I get overenthusiastic when it comes to my recipes, a lot of them are big projects that take a full day, if not a weekend, so today we’re keeping it simple and making an incredibly easy cake that is both delicious and naturally gluten free. I’m not sure where the recipe for this cake originated, I found it in the back of one of my notebooks simply labelled “good polenta cake” I’ve tweaked it to suit my preferences, the result is a rich, almondy sponge with notes of olive oil and honey. I like to serve it with whipped cream, today I’ve infused it with lemon verbena but thyme or orange blossom are also delicious, or you can keep it simple with a classic vanilla chantilly. Serve it with any summer fruits you like!
Quenelles
I thought this would be a good opportunity of a little lesson in quenelles, like almost everything, they take practice to perfect but I’ll talk you through how I do them and my tips to make life a little easier.
To get started you’ll need:
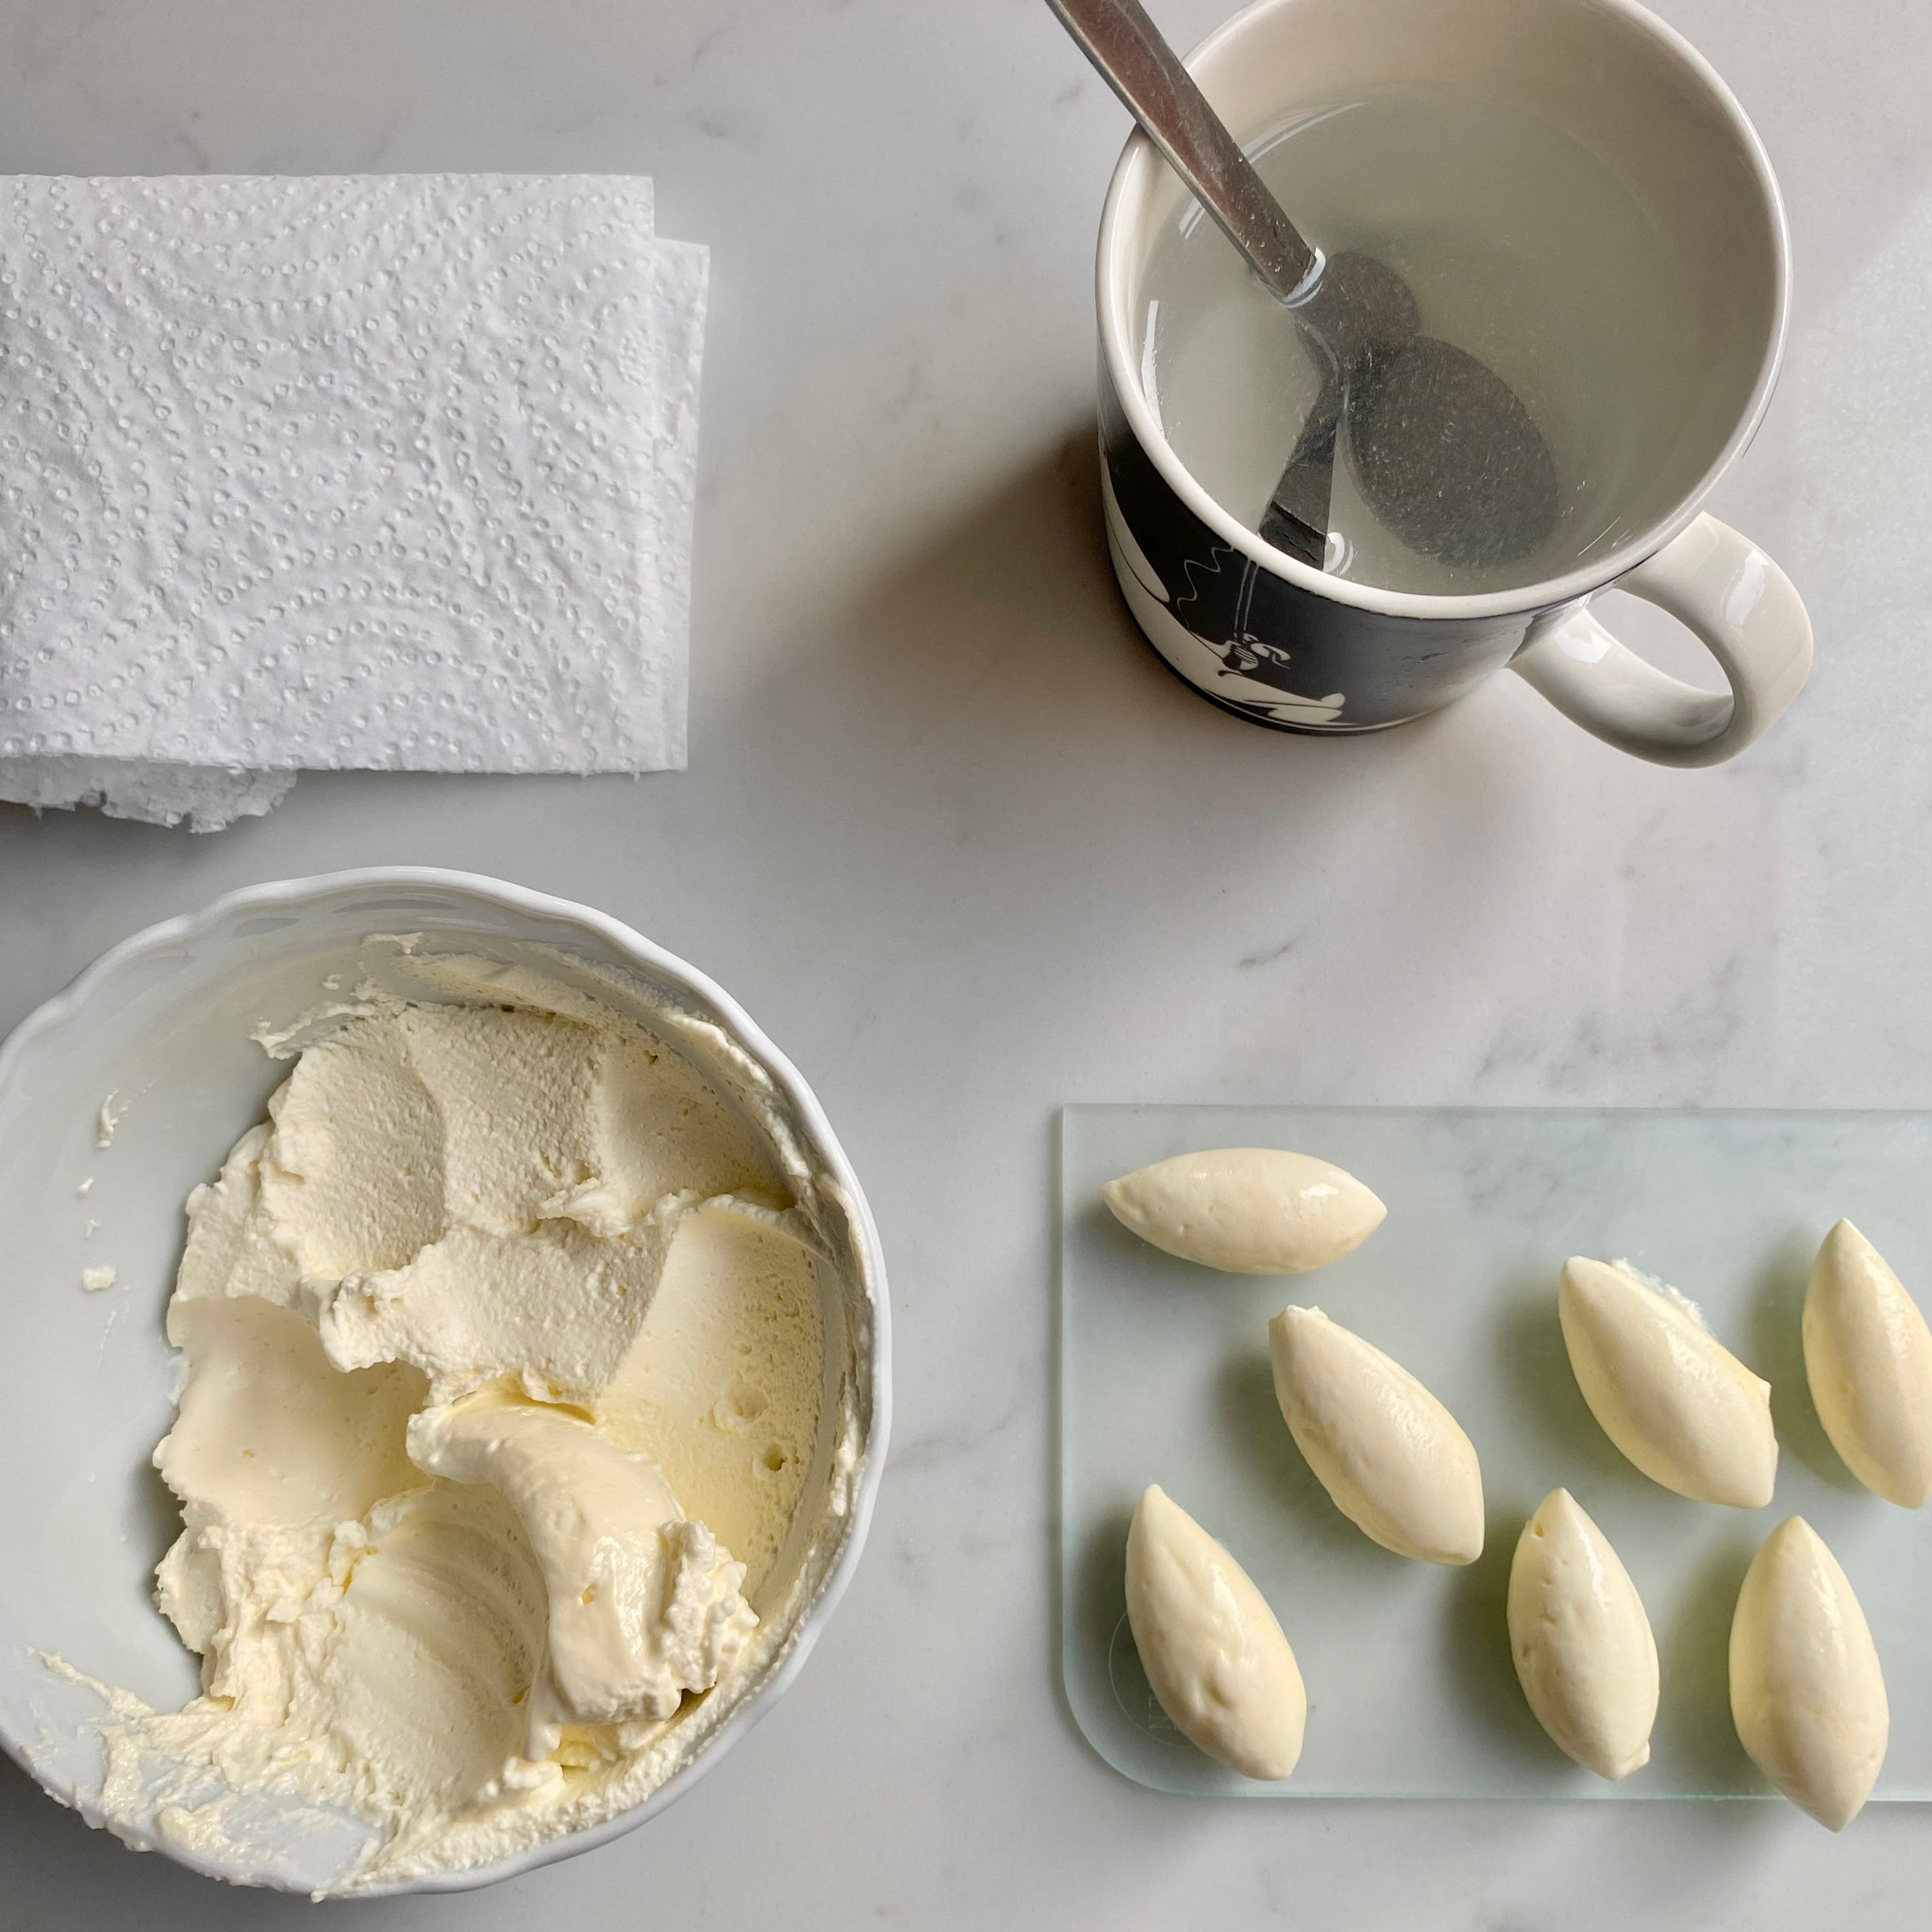
Whatever you’re quenelling; whipped cream in this instance, in a small bowl.
Kitchen roll; you’ll need to dry your spoon before starting the quenelle, it doesn’t need to be super dry, I just tap mine on a bit of kitchen roll to get rid of any excess water.
Hot water; the best temperature is 1/2 boiling water and 1/2 warm water from the tap, I don’t take the temperature but it’s somewhere around 60°C/140°F, too hot and the cream will melt, too cold and it’ll stick to the spoon.
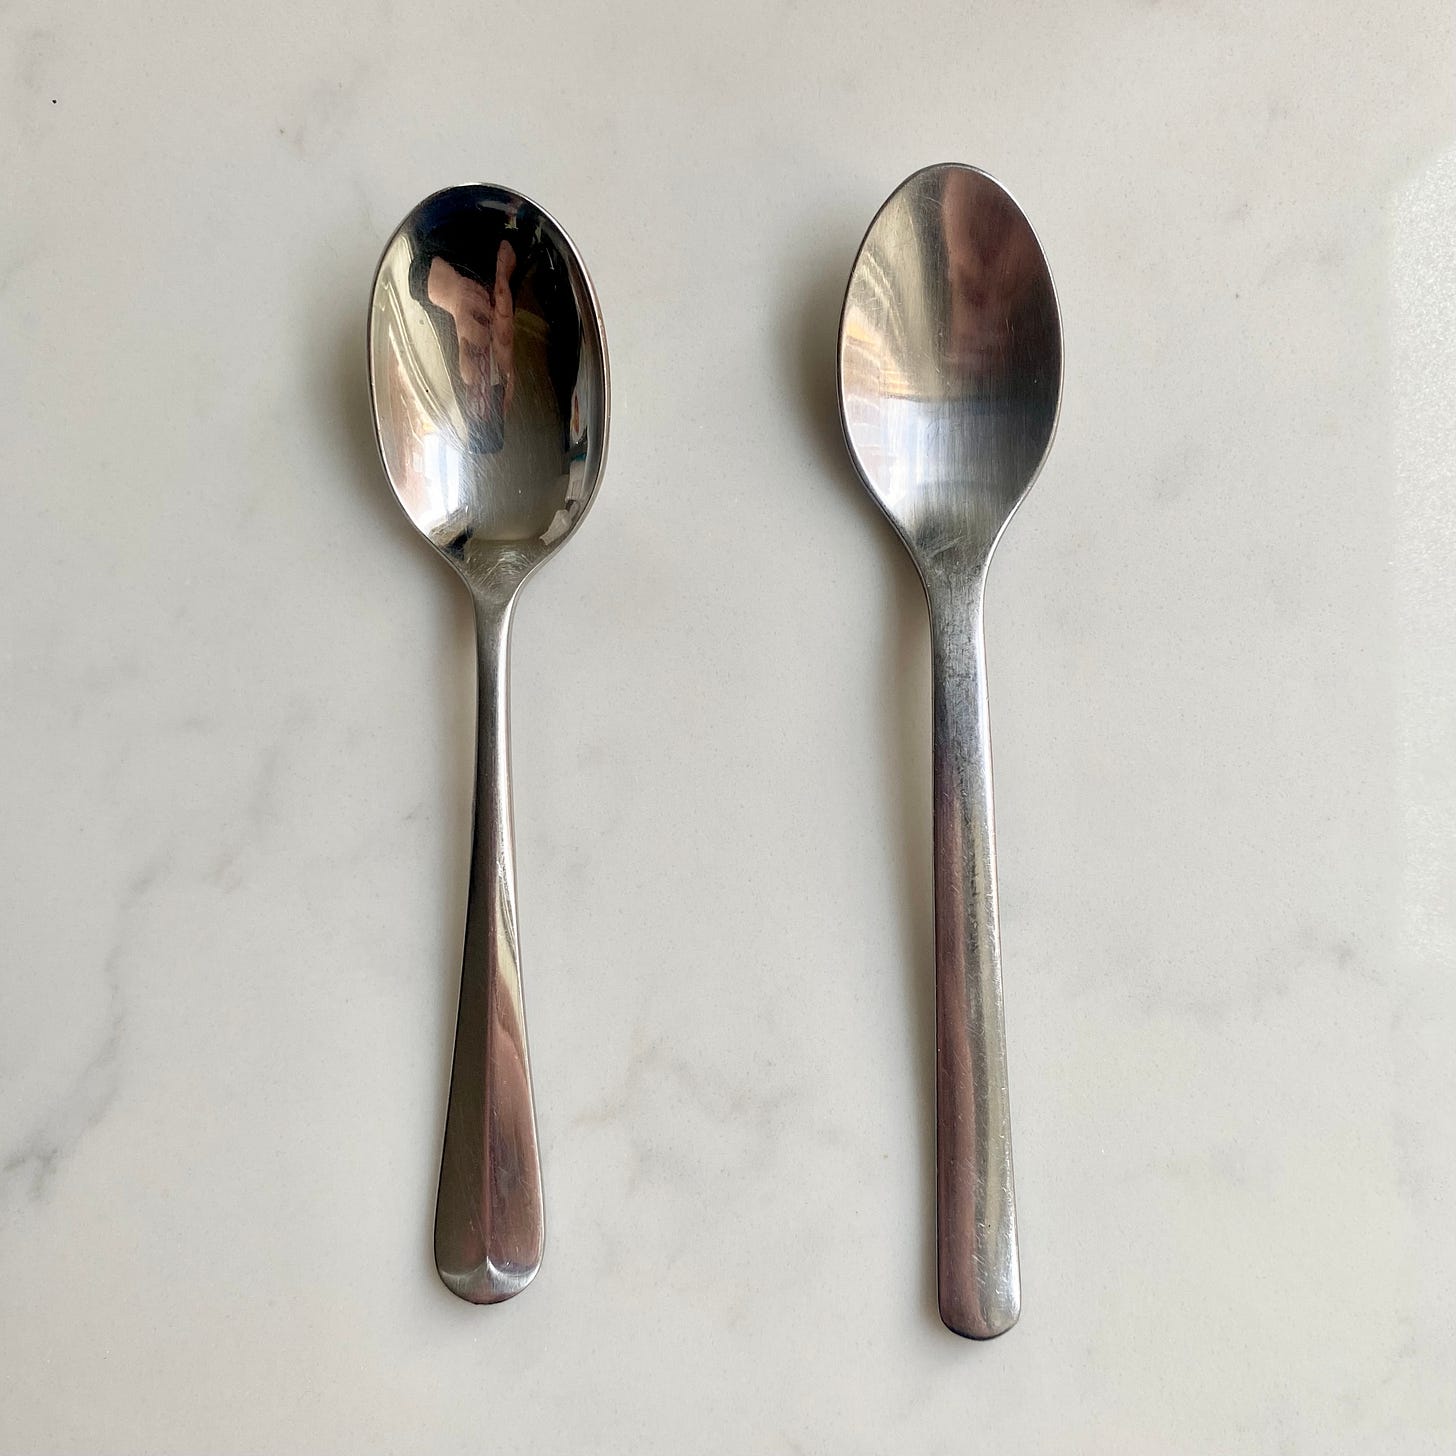
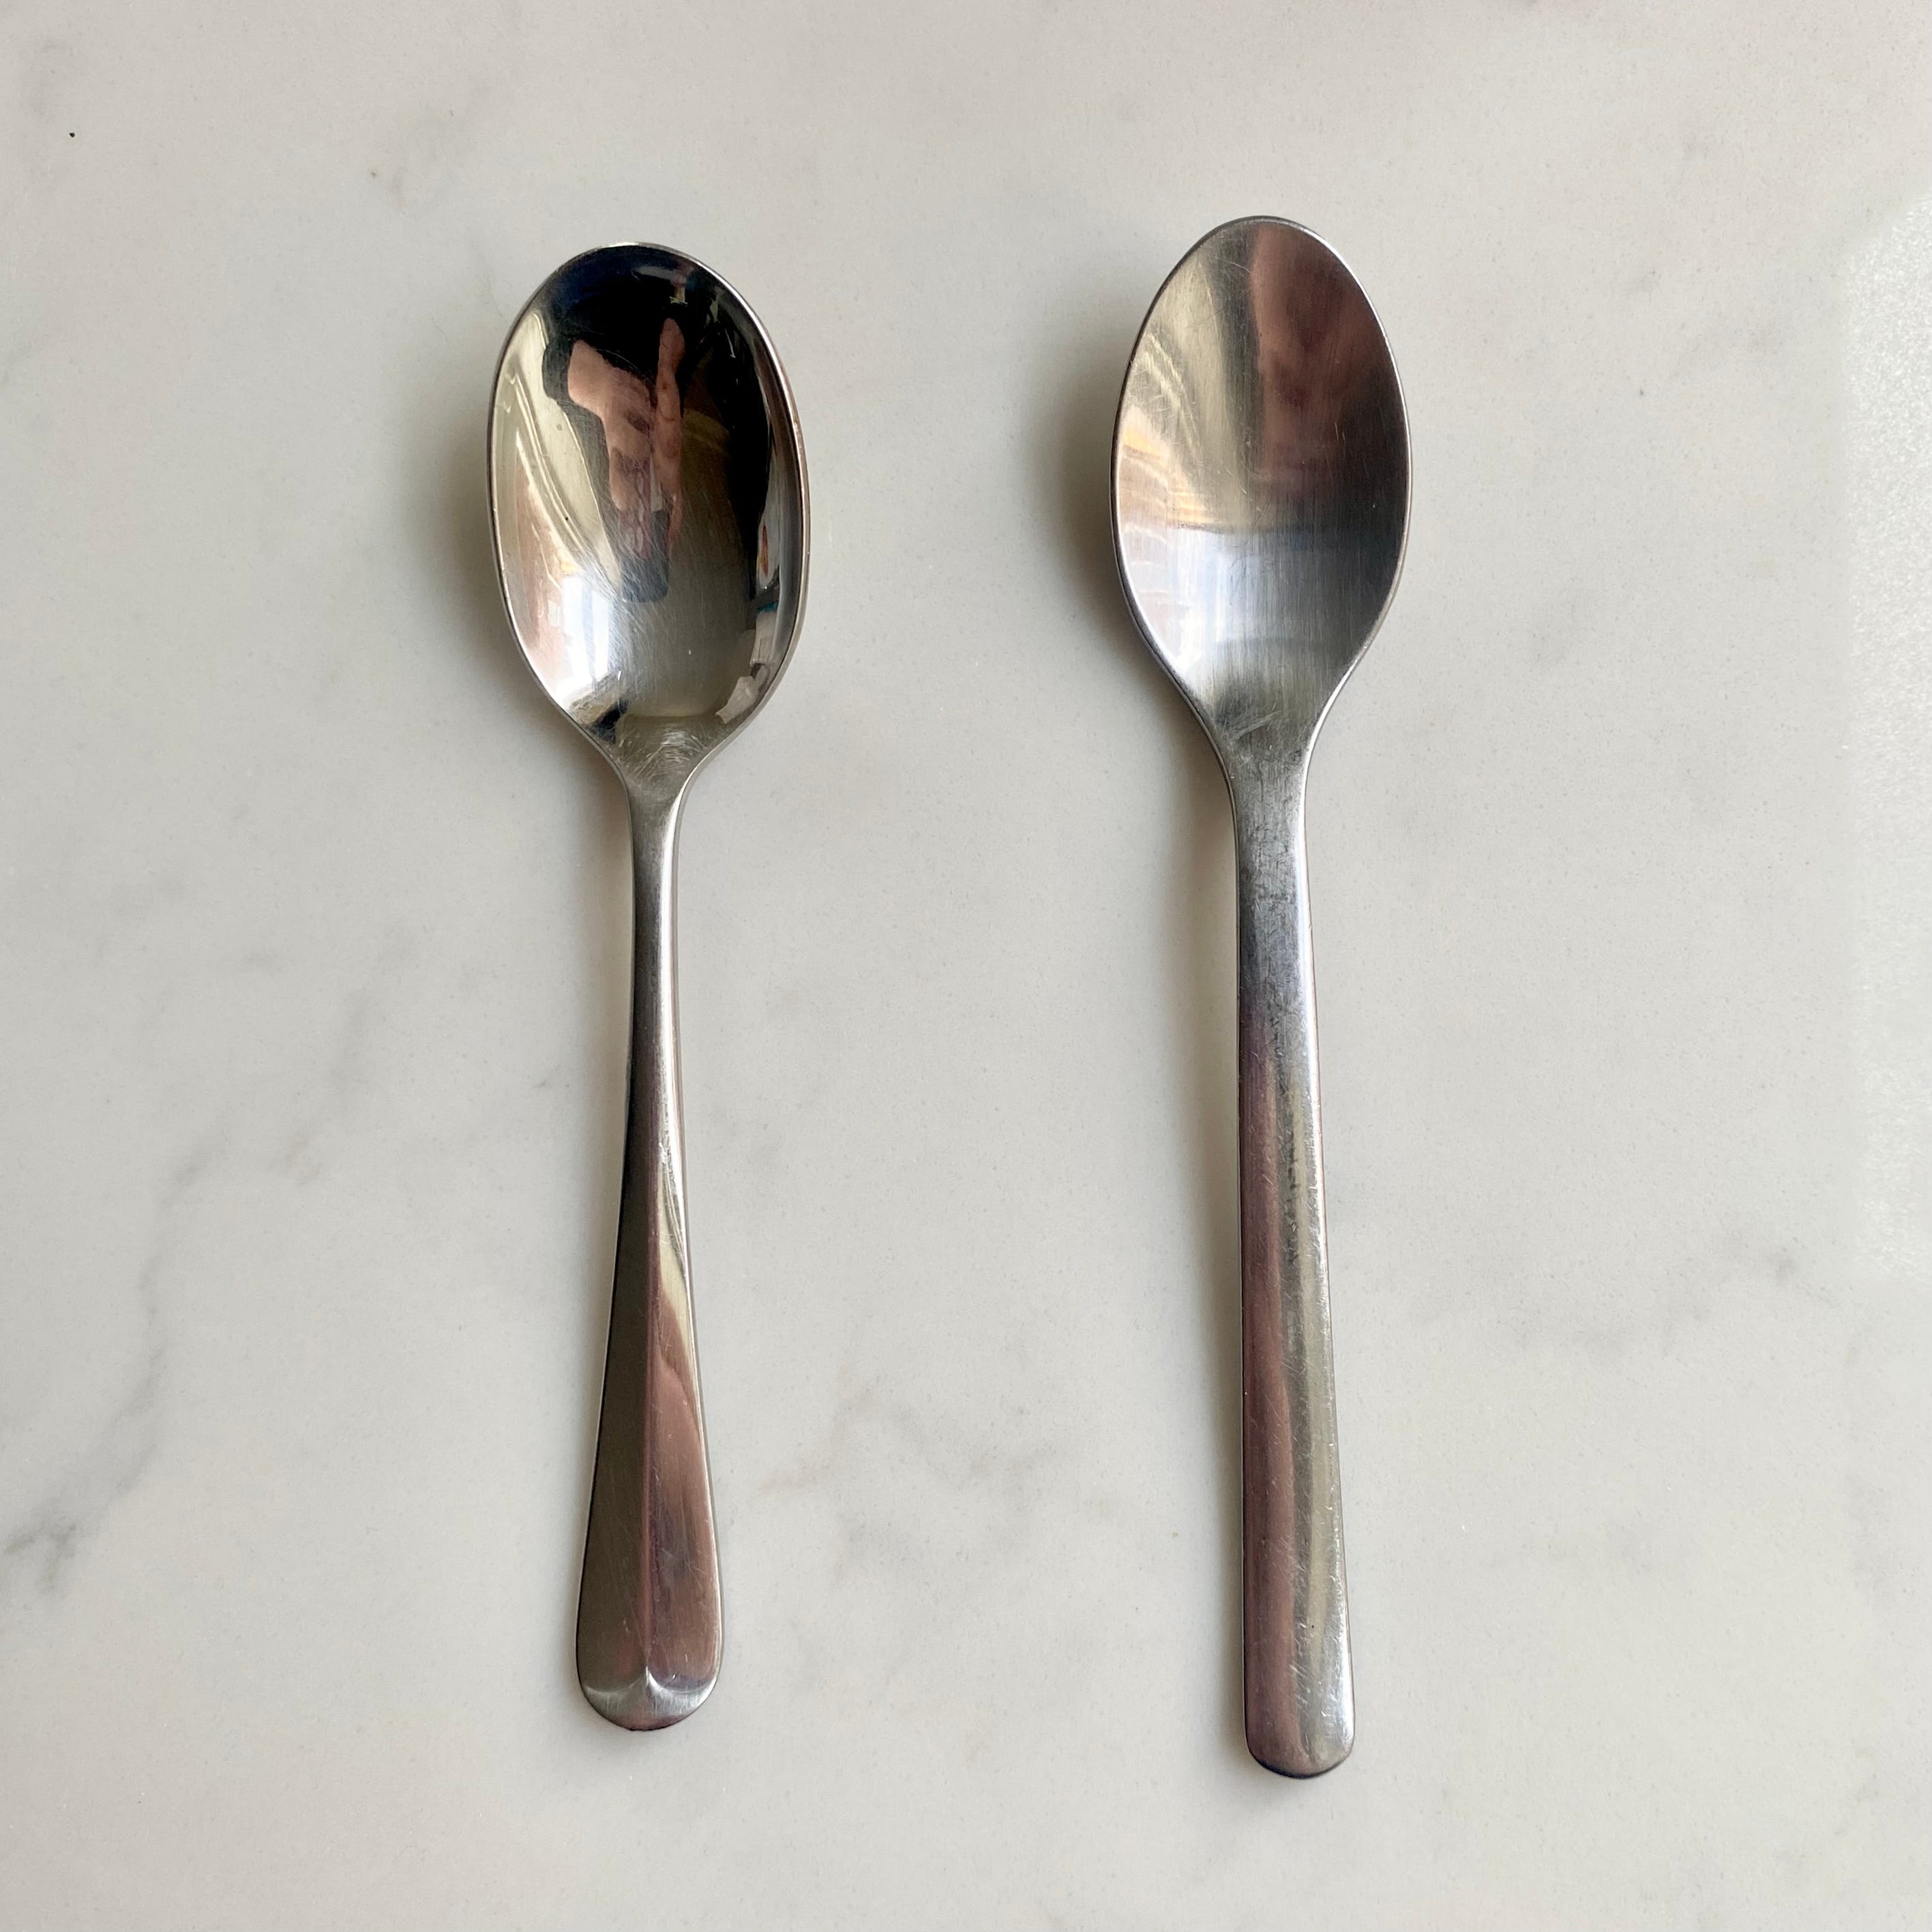
A spoon; a longer slimmer ones will give you a more elegant shape, the spoon on the right is preferable but any spoon will do.
There are 2 different techniques when it comes to quenelles, I don’t really have a preference and switch between them depending on how I feel. For both you’ll need to heat the spoon in hot water, tap it on a paper towel and then:
Technique 1: push the spoon into the cream, away from you, turn the spoon and bring the cream back towards you, scrape off any excess on the side of the bowl, pick the cream up and then place it wherever you want it. Smooth the cream down before starting the next quenelle.

Technique 2: Scoop the cream towards you to give you a rough quenelle shape, clean your spoon in the hot water and use the spoon to refine the shape by scooping the cream back up until it’s the shape you want, scrape off any excess on the side of the bowl, pick the cream up and then place it wherever you want it. Smooth the cream down before starting the next quenelle.


The best way to learn this is to whip up a batch of cream and just keep practicing until you’re happy with the results, it can take a while to get the pressure right but once you’re off it’s easy and it makes a great decoration on cakes and desserts!