


Hello! Today we’re chatting about chocolate decorations. When it comes to making chocolate decorations the possibilities are endless, however they can also be quite daunting if you haven’t made them before but don’t worry! With a bit of practice, anyone can make these decorations and once you know how to you’ll be making them constantly.
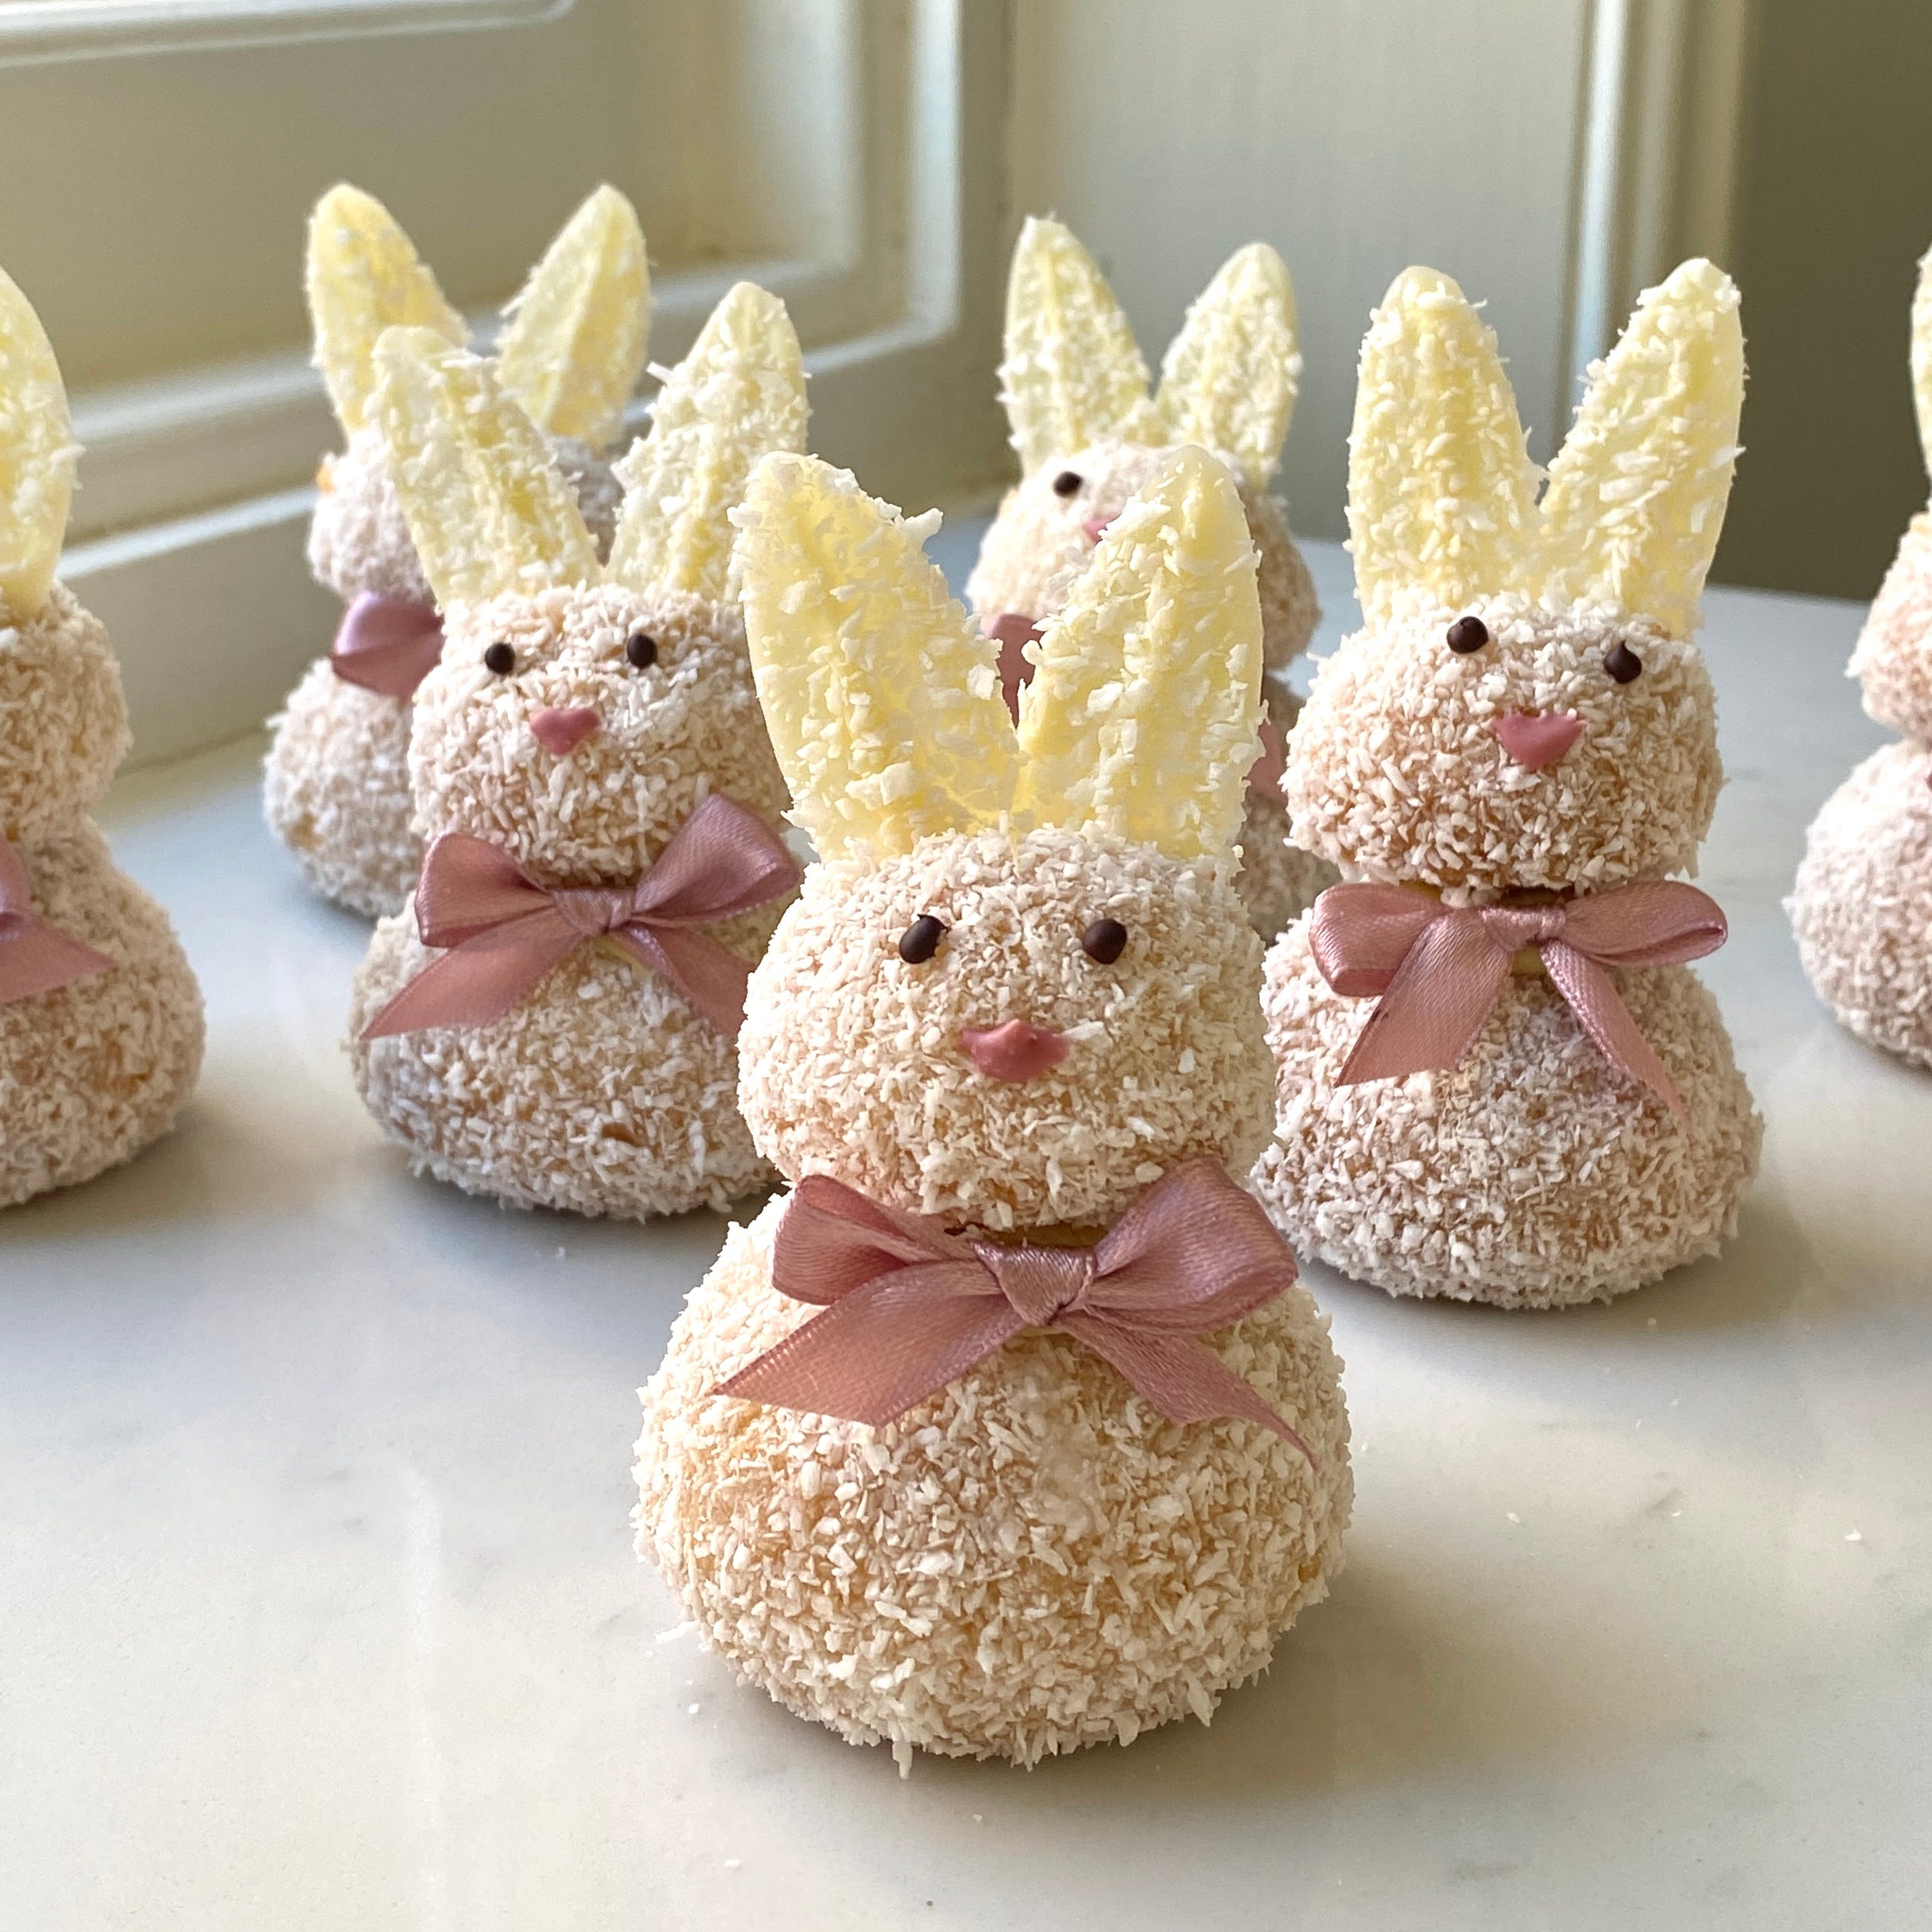
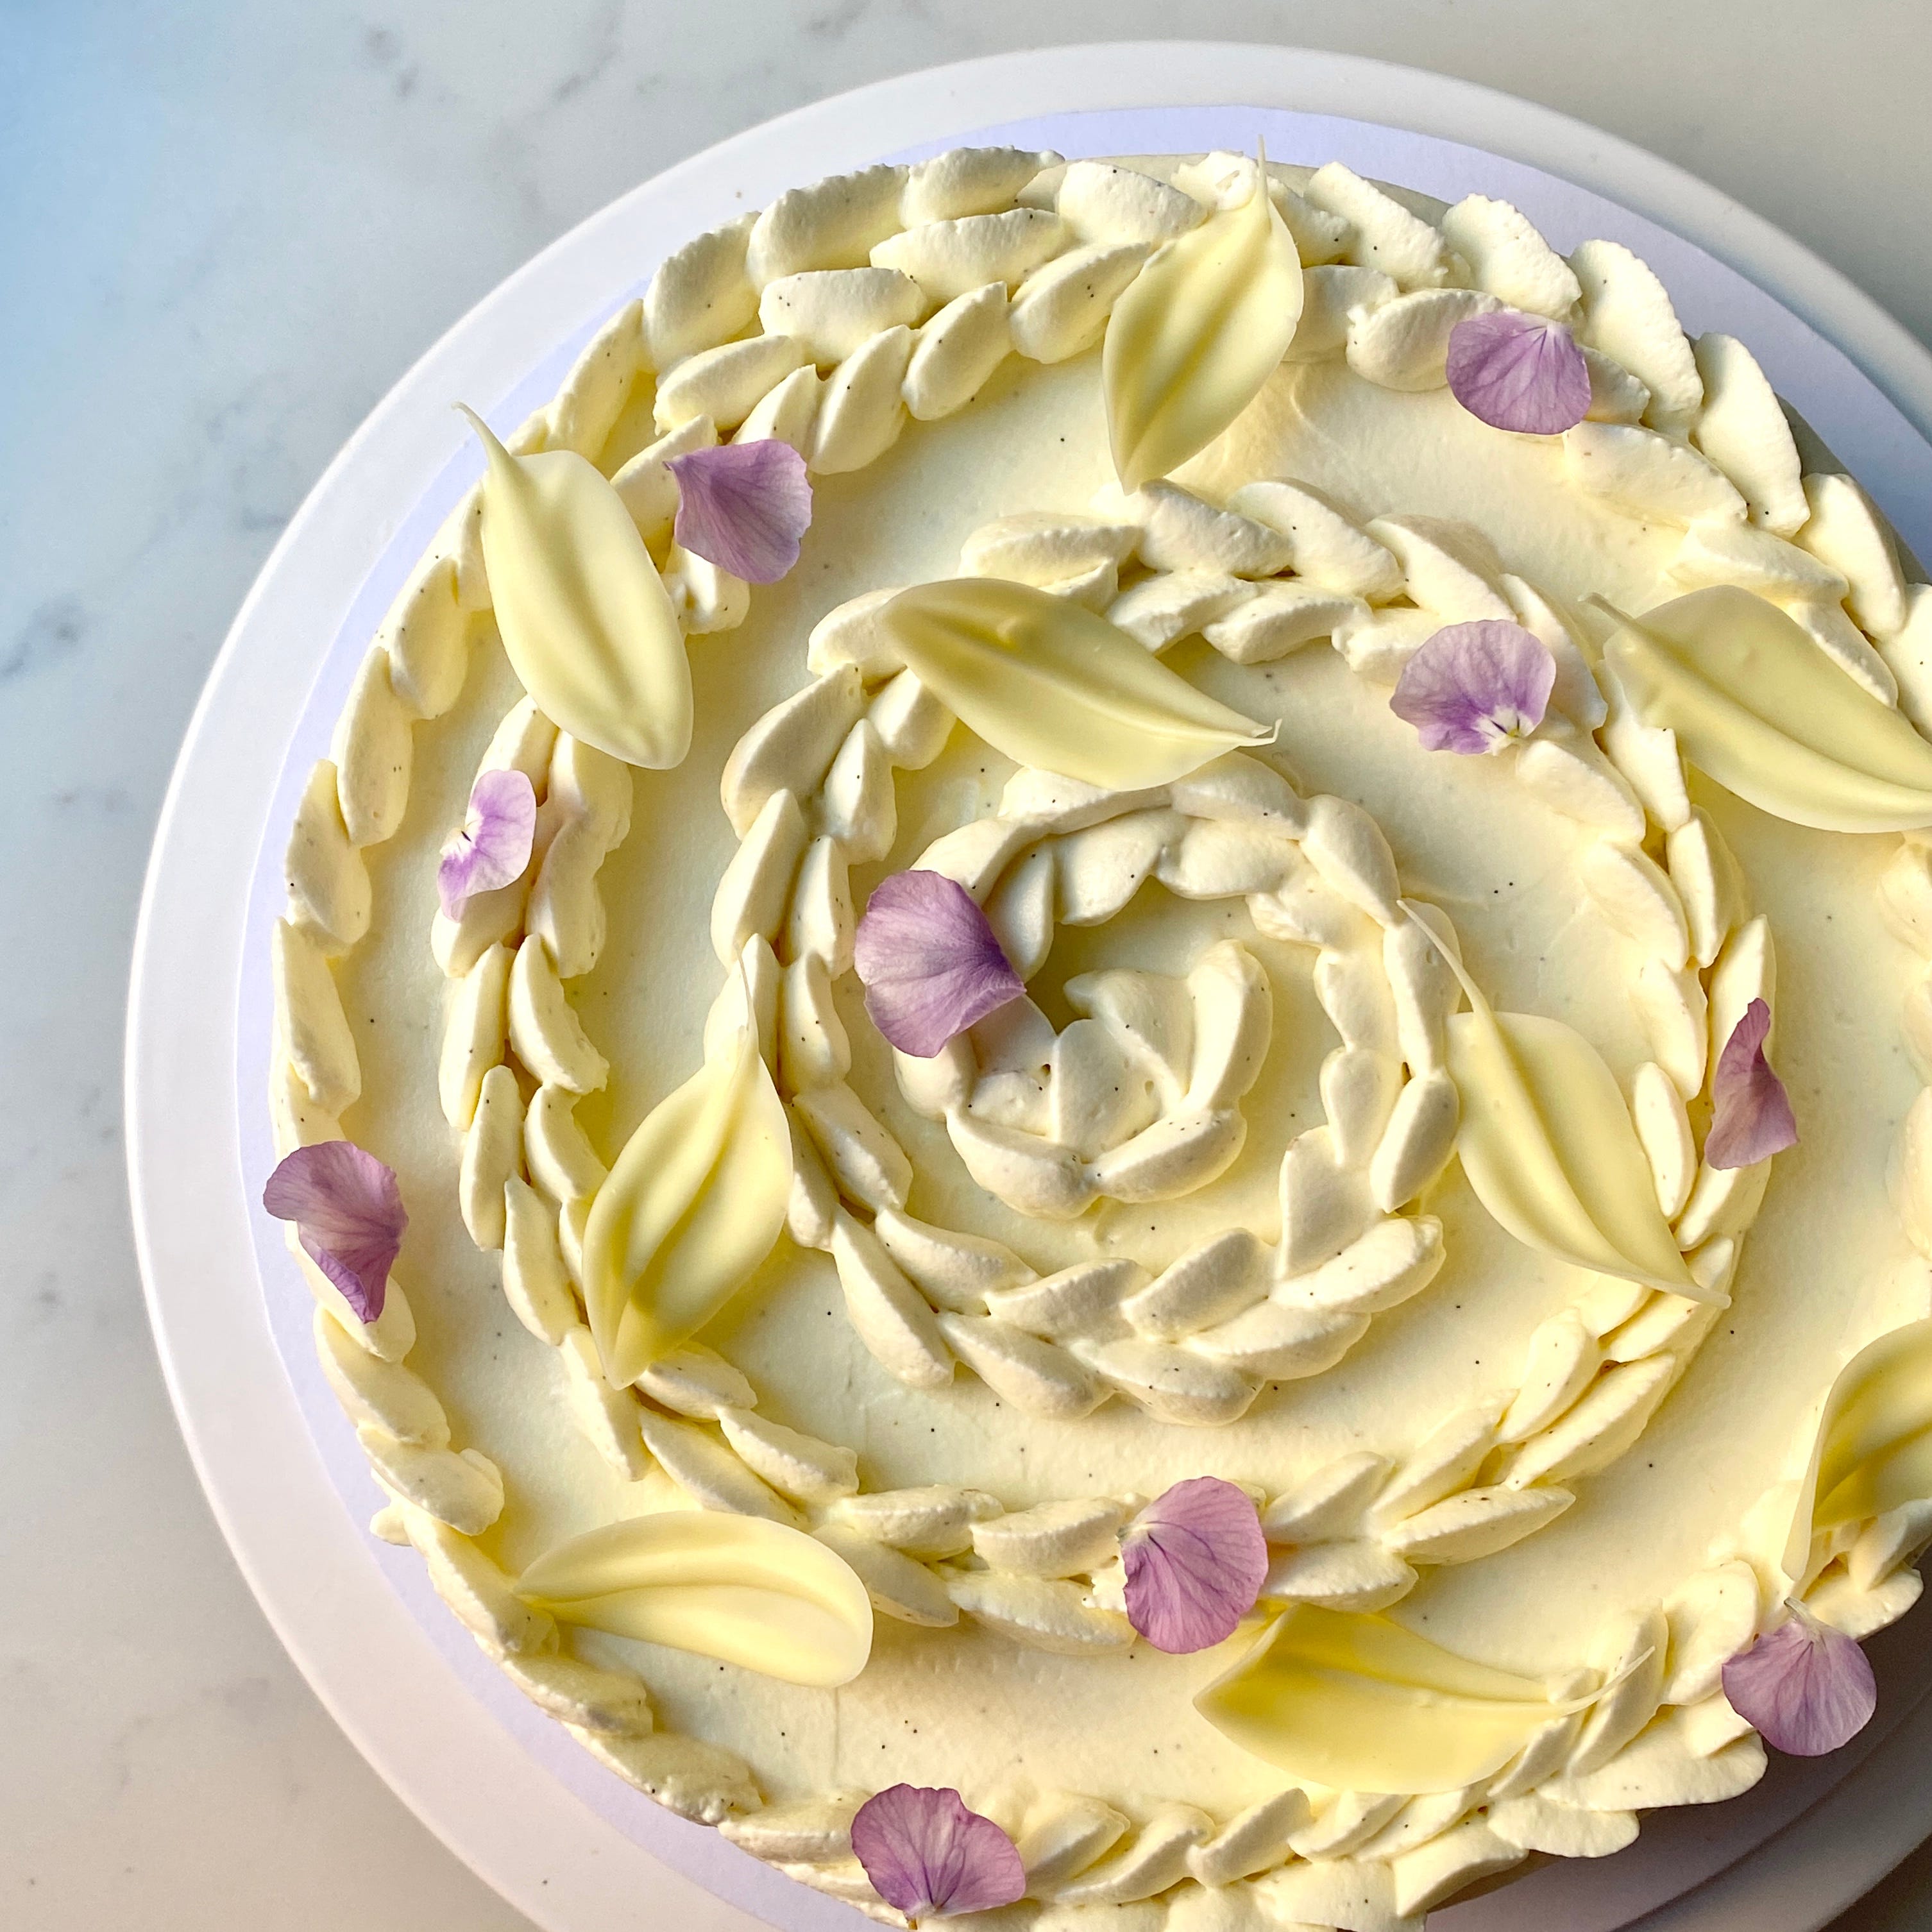
Leaves are one of my favourite decorations to make, they’re quick and don’t require a tonne of chocolate or any fancy equipment. They’re also incredibly versatile. You can use them to decorate cakes, make chocolate flowers or even make the cutest little bunny ears! This week I’m using this technique to make the cutest little choux bunnies filled with coconut and pink peppercorn pastry cream and rhubarb and raspberry compote.
This recipe is exclusively available for paid subscribers, so if that sounds like something you’re into, please consider becoming a paid subscriber. You’ll receive an exclusive recipe every week, plus access to the full archive of over 100 thoroughly tested cake and dessert recipes. And you'll be helping support me so I can continue creating and sharing recipes! 🩷
It’s just £6 a month or £60 for a whole year. To subscribe or upgrade, just hit the button below and join me for more cakey fun.
When I used to show this decoration to trainee pastry chefs, they’d always say, “But Sophie, how do you make it look so easy!?” And yes, I probably do make it look easy, but that’s because I’ve made literally thousands of chocolate feathers. I can give you all the tips and tricks I have, but at the end of the day, practice is always your best friend.
So take this as a reminder that it’s okay not to be perfect at something the first time you try it. This is a reminder I need myself, often. For example, I’ve just taken up quilting and, to my horror, I’m not an instant professional. “What do you mean the first quilt I’ve ever made isn’t the most perfect and advanced quilt you’ve ever seen!?” So don’t be like me, try it out, practice and if you still have questions feel free to message me!
These leaves require tempered chocolate, if you haven’t tempered before I have a huge post all about it which you can read here. I will say that although I definitely recommend tempering, it’s not the end of the world if your chocolate is slightly out of temper when making these decorations, especially if using white chocolate where you won’t notice a bloom as much.
If you do realise that your chocolate is out of temper, just put the leaves in the fridge for about 30 minutes to help them set. You’ll have to be extra careful when handling them as they’ll melt much more easily but other than that they should be ok!
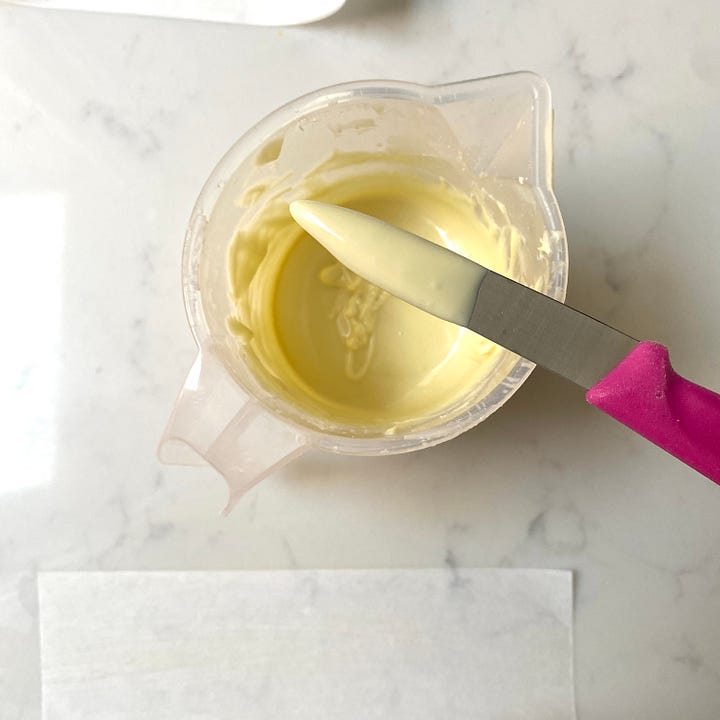
A quick note on knives before we get started! I usually use a small, sharp paring knife (the middle one in the image below), but you can use various knives to achieve different shapes. For example, a palette knife works well for more rounded flower petals, and an artist’s palette knife is great if you want smaller leaves. You can actually buy specialist combs to make various shapes from pastry chef Frank Haasnoot, but they’re eye-wateringly expensive and only work if you’re tempering huge amounts of chocolate.


Chocolate Leaves
You’ll need:
Baking paper cut into strips, approximately 15cm x 5cm.
A small pointy knife, I use this one
Soft butter, cake spray or an empty butter wrapper.
A cardboard tube cut in half lengthways (the inside of a kitchen roll works here, or if you’ll be making them frequently you can get plastic piping from a hardware shop).
A tall, narrow container for your chocolate, I use a small jug but a water glass also works.
About 300g of good quality tempered chocolate, I used white but you can use any!
Method - Leaves
Spread a very thin layer of butter, the size of your strips of baking paper, onto the very edge of your bench. I just use an empty butter packet to do this. Greasing the bench helps the paper to stick so that it doesn’t lift up when making the decorations. This step makes life a lot easier!
Stick a strip of paper to the greased area – it should be right up to the edge of your bench.
Dip your knife into the tempered chocolate, how deep you dip it will determine the size of your leaves, I like to do mine about half of the way down.
Wipe one side of your knife on the side of the jug so that you have one chocolatey side and one clean side.
Place the chocolatey side of the knife down onto the prepared paper and press down slightly. You can do this straight on or at a slight angle, I prefer mine at an angle but if it’s your first time I’d recommend starting with straight leaves.
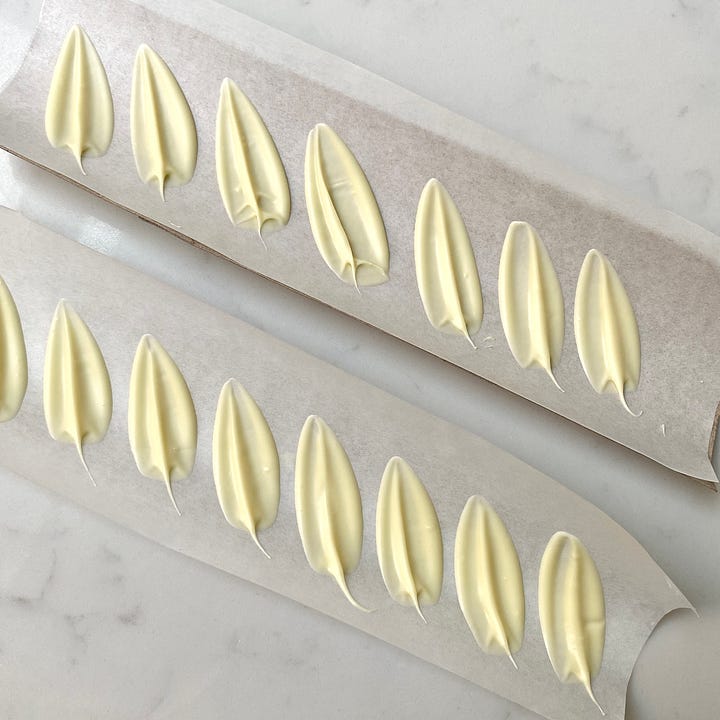
Lift the knife straight up so that it’s just a few millimetres from the paper, then pull the knife off the paper towards you. It’s important to lift the knife straight up before pulling it towards you.
As you pull the knife towards you, you should get a little stalk on your leaf. If you don’t, you can place your knife back onto the chocolate and try again.
Repeat this until you have a full line of leaves. Then carefully pick up the baking paper and move it into the half tube. Leave it to set in the tube, and move it to the fridge if necessary.
These are lovely as they are, or you can sprinkle them with chopped nuts or anything you like before they set. A little shimmer brushed on after they’ve set also looks great!
The leaves will keep for up to a month in an airtight container at room temperature.


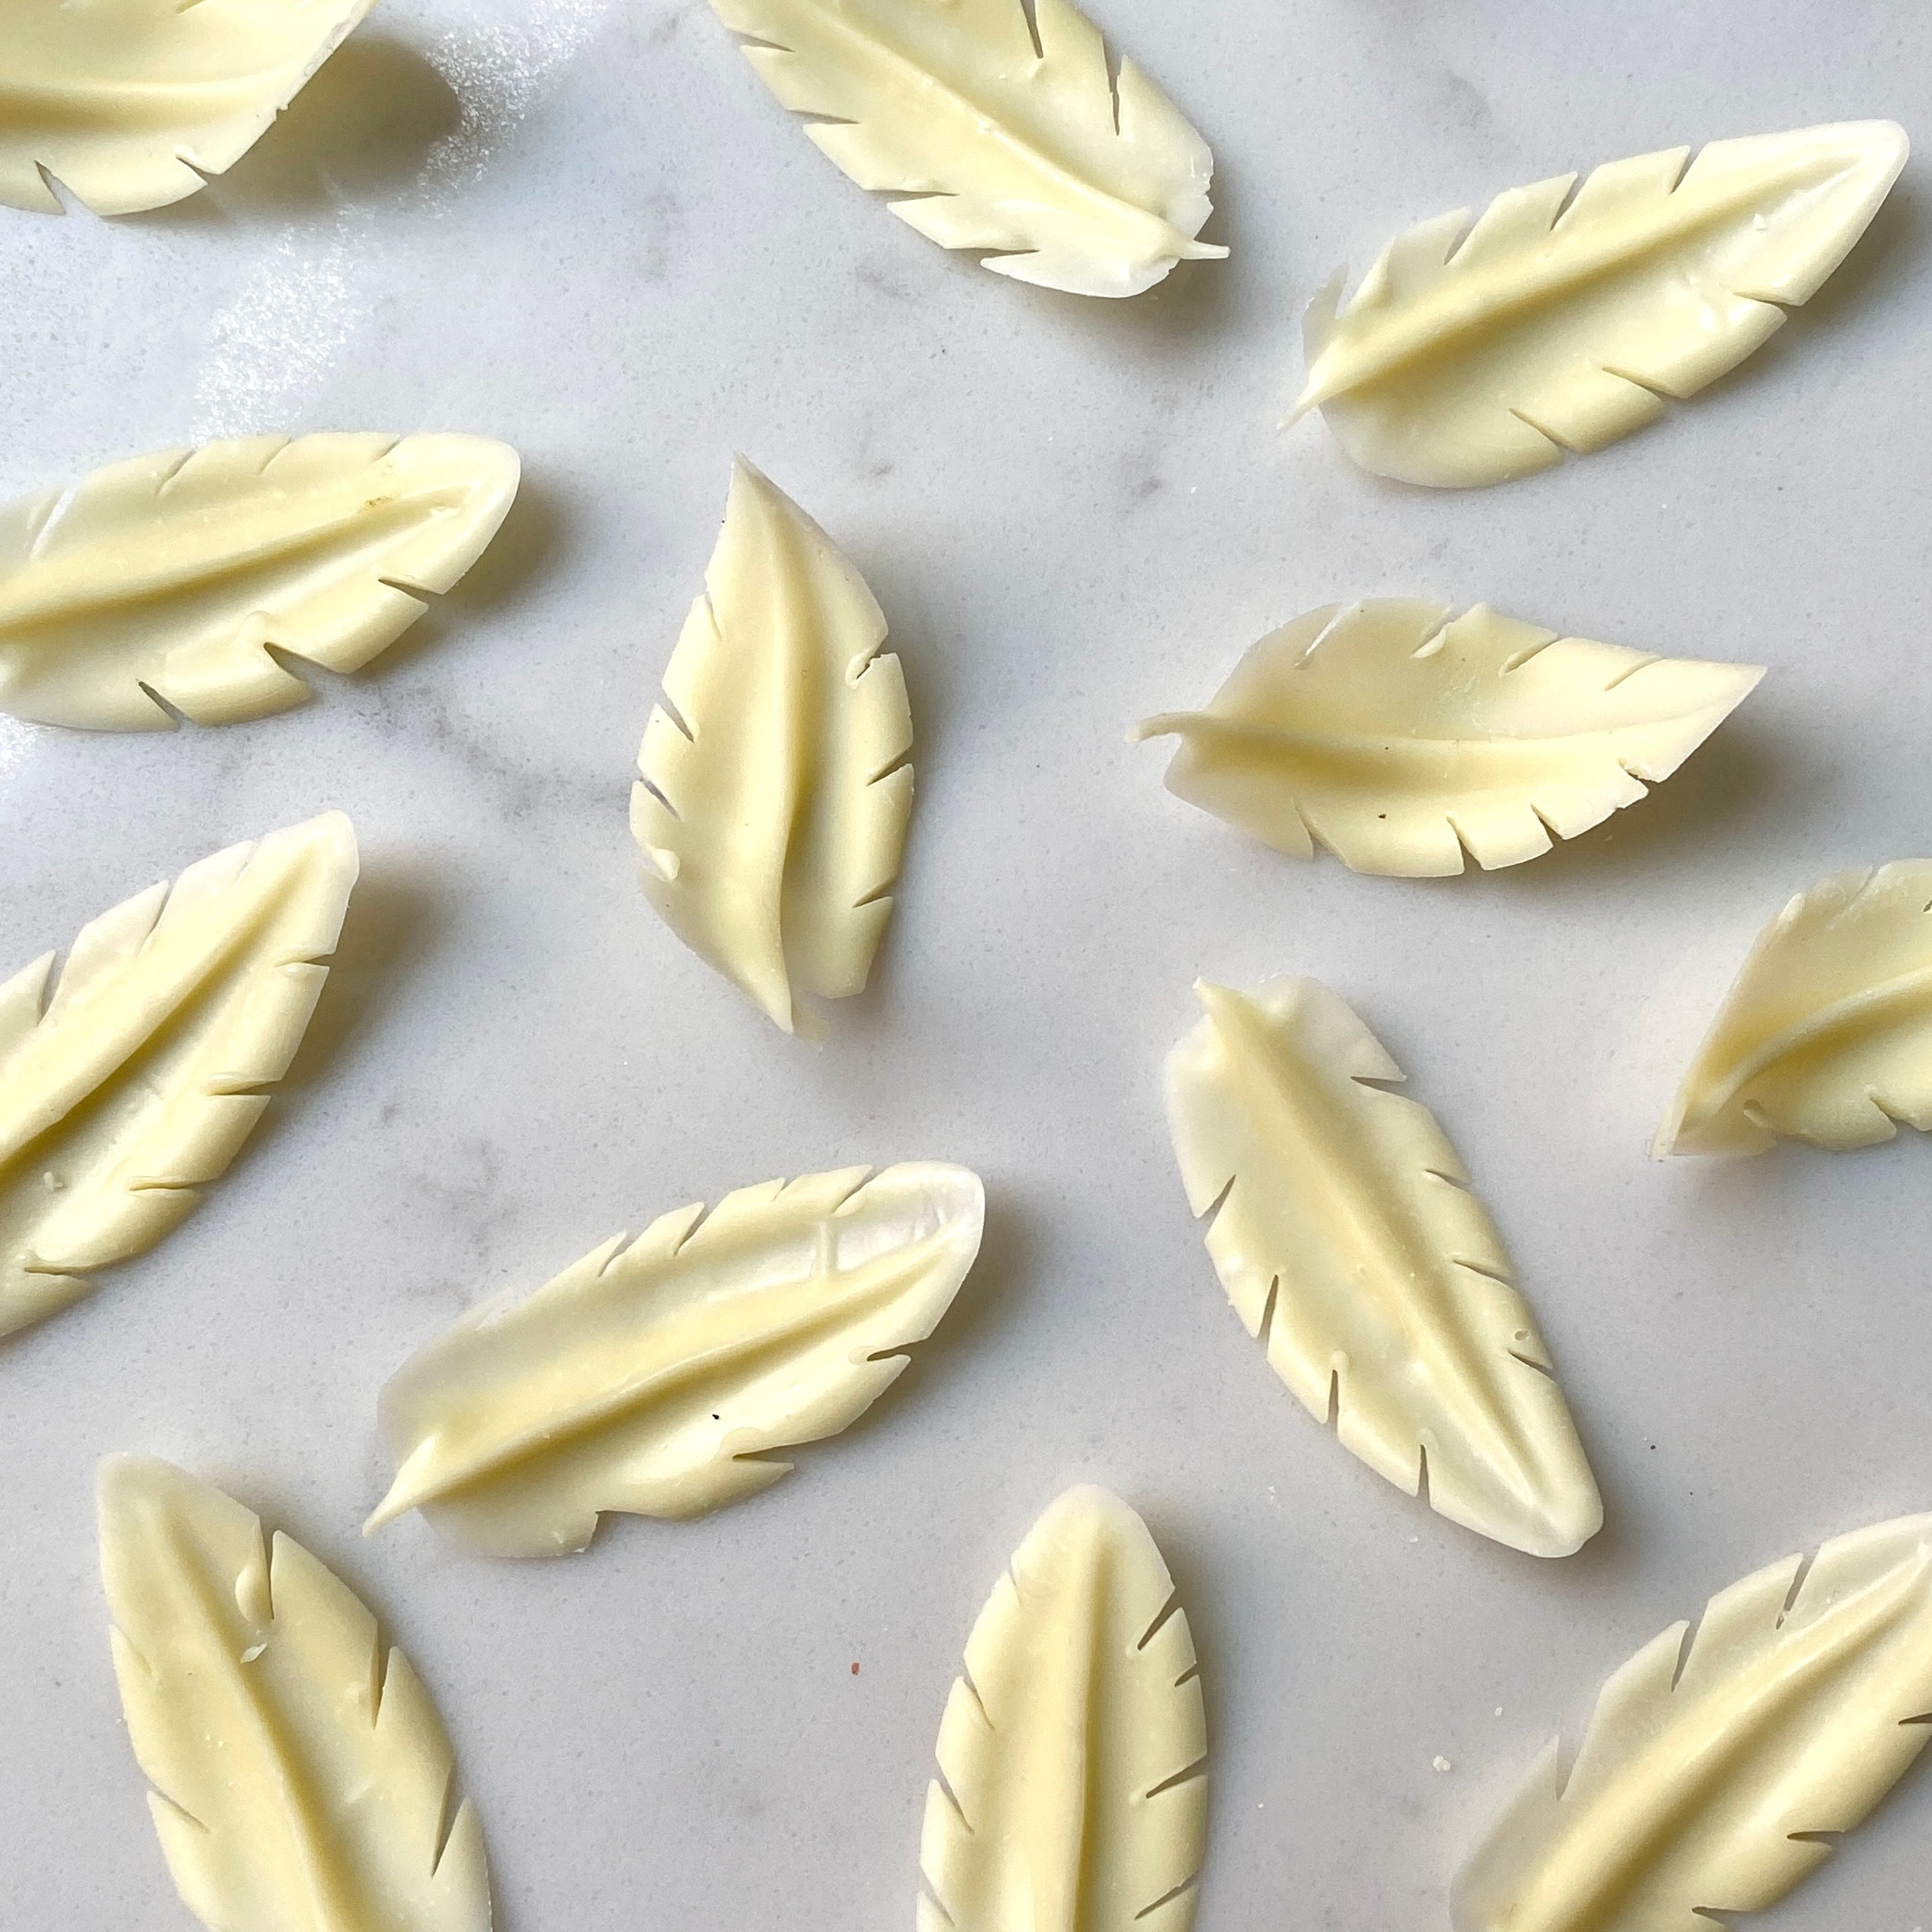
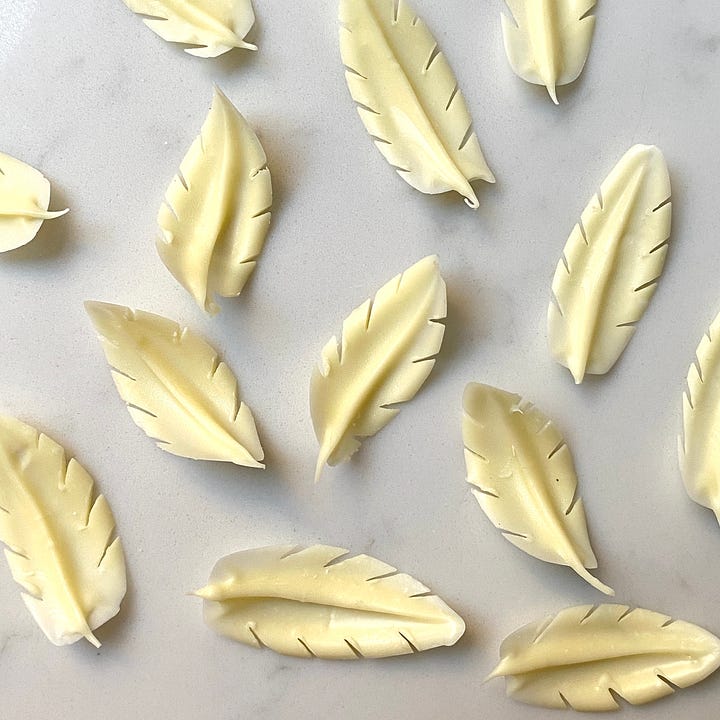
Method - Feathers
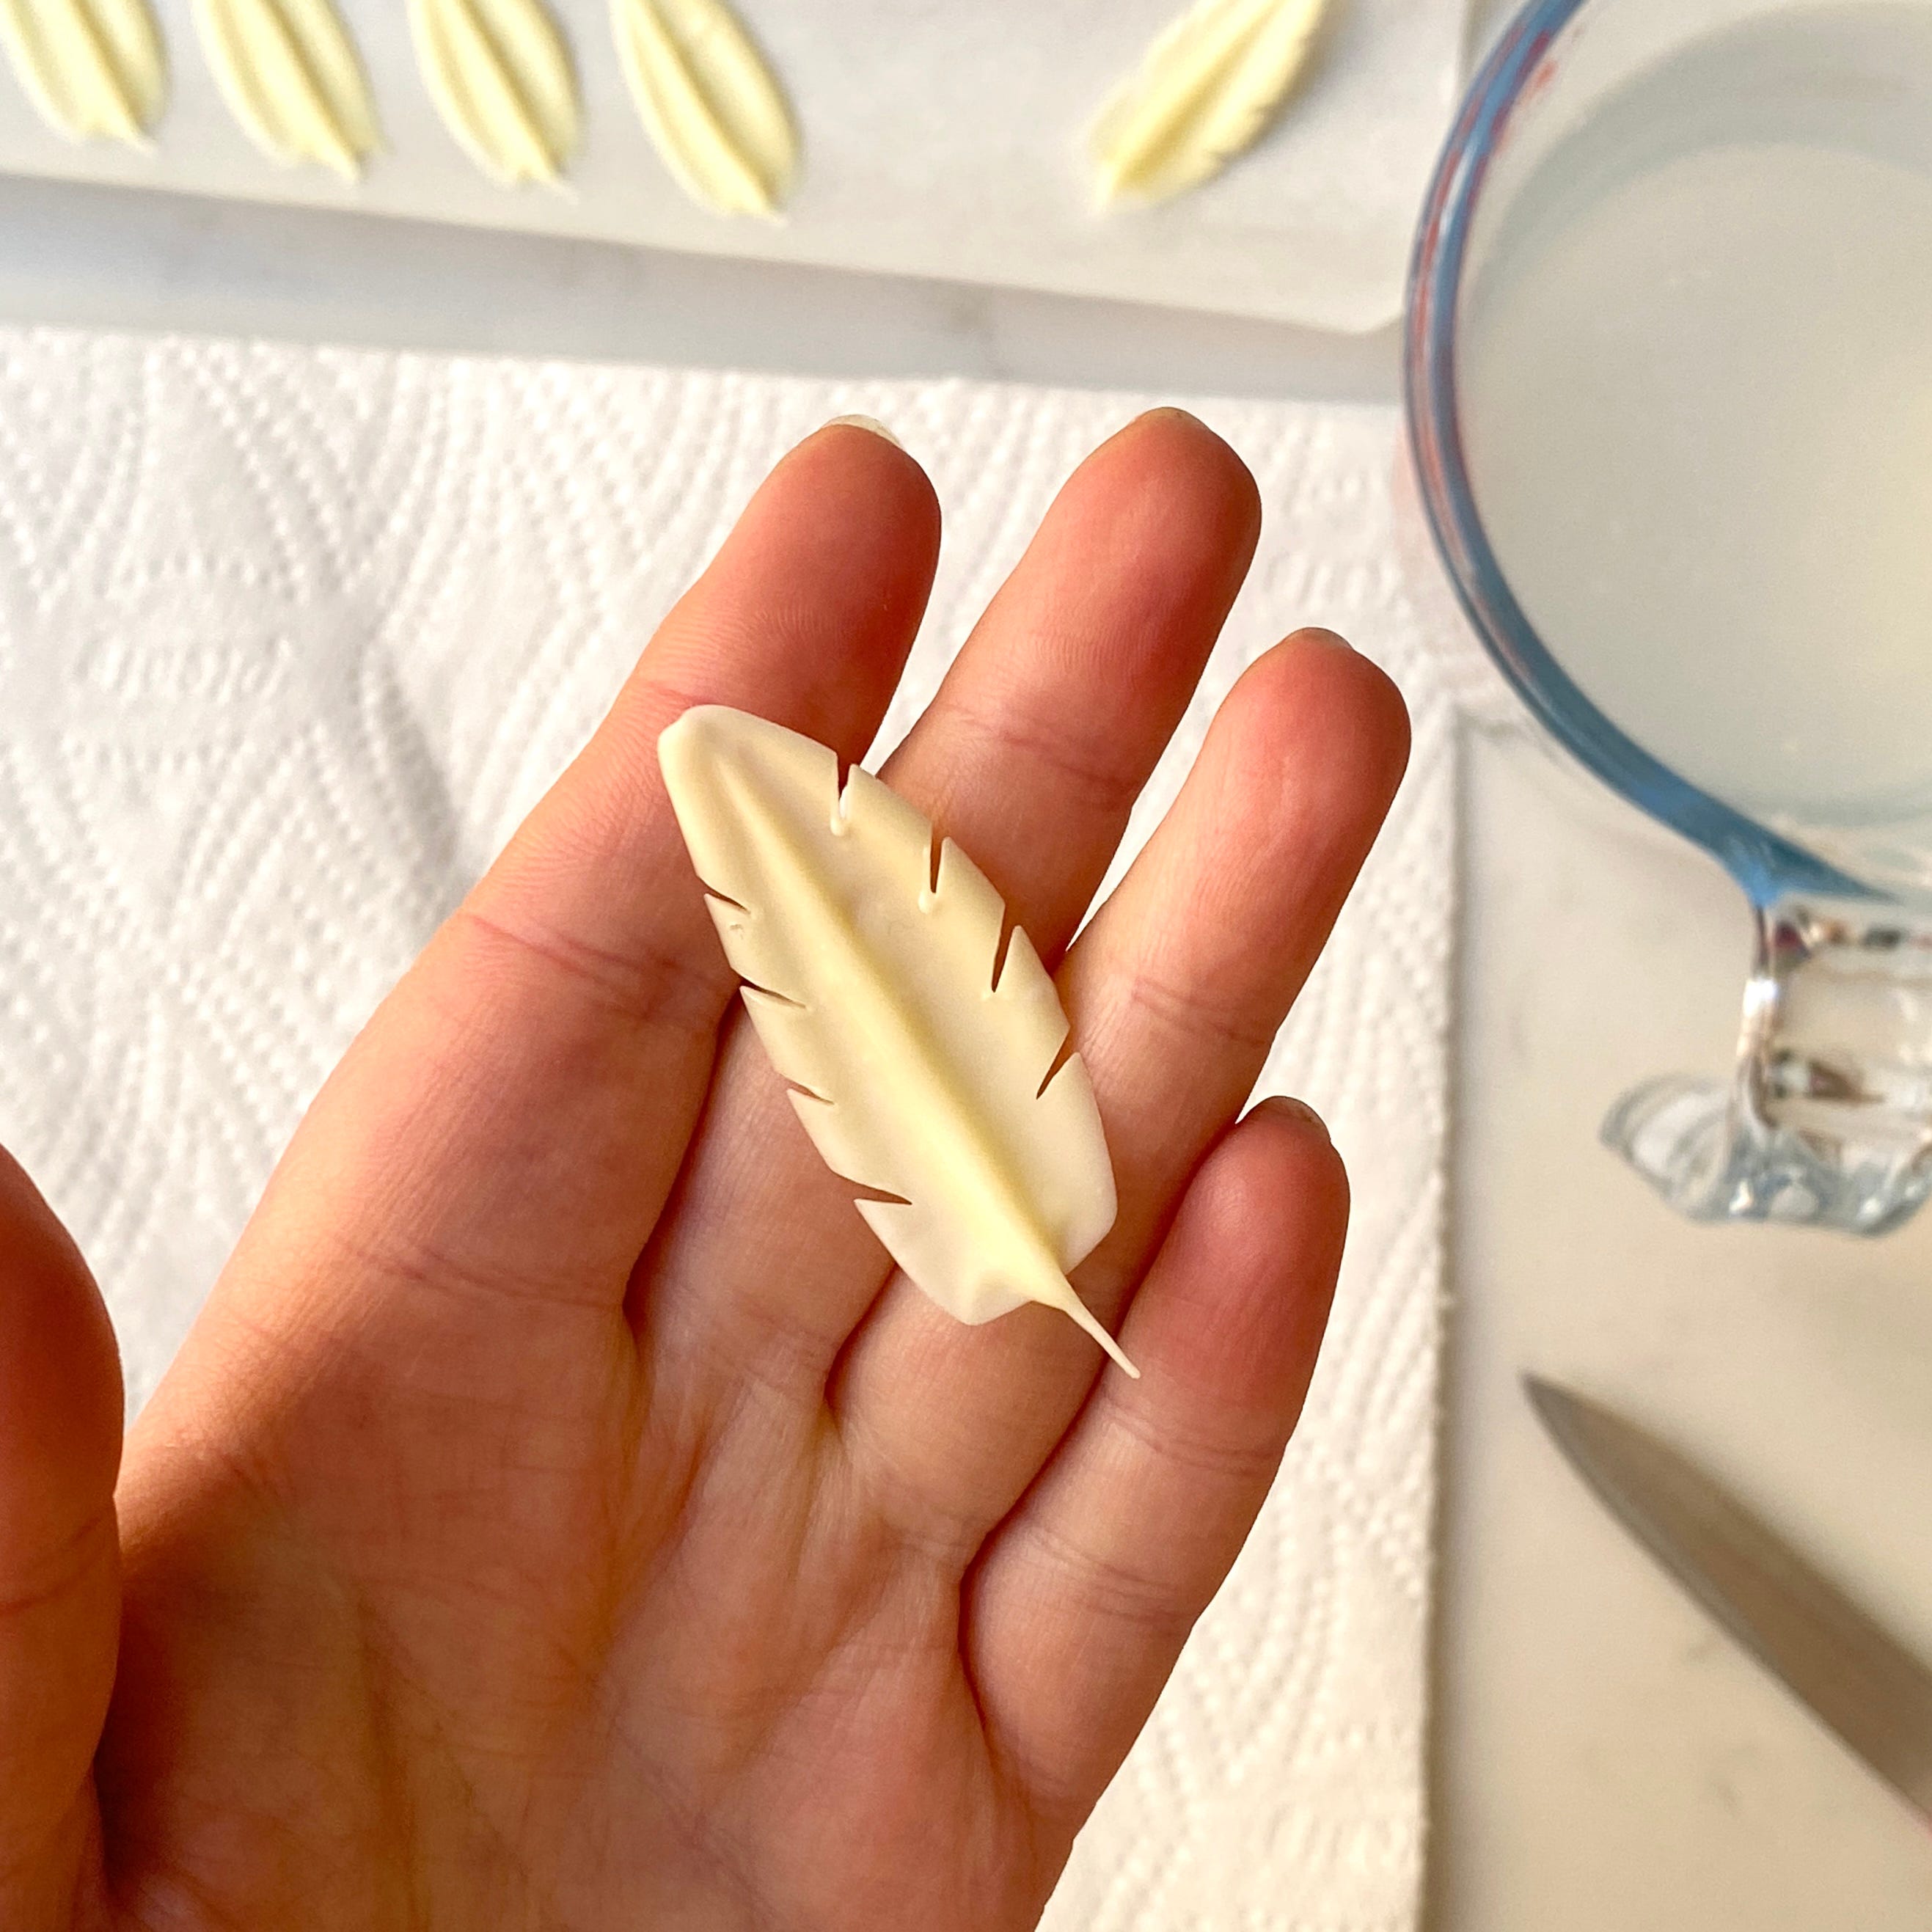
When your leaves are completely set, you can turn them into feathers! If your chocolate is not in temper you might not be able to make the feathers as they require a lot of handling!
Fill a jug with freshly boiled water and put your sharp knife in to warm.
Dry the knife thoroughly and then gently press into the sides of the leaf at an angle to make little indentations. Clean the knife regularly and re-heat in the water when necessary.


I hope this leaf tutorial is helpful! If you enjoyed this post and want to support my work please like, comment or share! It really helps my newsletter to grow so that I can continue to create and share free content without relying on paid ads. Thank you so much! 🩷