

Chocolate Chats Part 2
Everything you've ever wanted to know about tempering

Hello and thank you for being here! If you like what I do please consider becoming a paid subscriber. You’ll receive an exclusive recipe every week and you’ll get access to the full archive of over 100 thoroughly tested cake and dessert recipes and you’ll be helping to support me so that I can continue to create and share recipes🩷.
Hello! I hope everyone is well. I took a little break last week, but I’m back and feeling ✨refreshed✨! And it’s just as well because today’s post is a monster. We’re diving deep into all things tempering.
Before we get started, if you’re interested in the production of chocolate, brands, and history - I’ve covered it all in Chocolate Chats Part 1.
Tempering chocolate can feel a bit daunting and “chef-y,” but it’s not as scary as it seems, and it’s a skill that’s definitely worth mastering. Learning how to temper unlocks so many possibilities in the kitchen, from moulded chocolates to chocolate decorations, so it always comes in handy.
We’re going to look at what tempering actually is, the different methods (including their pros and cons), which chocolates are best for tempering, and some handy tips and tricks I’ve learned along the way.
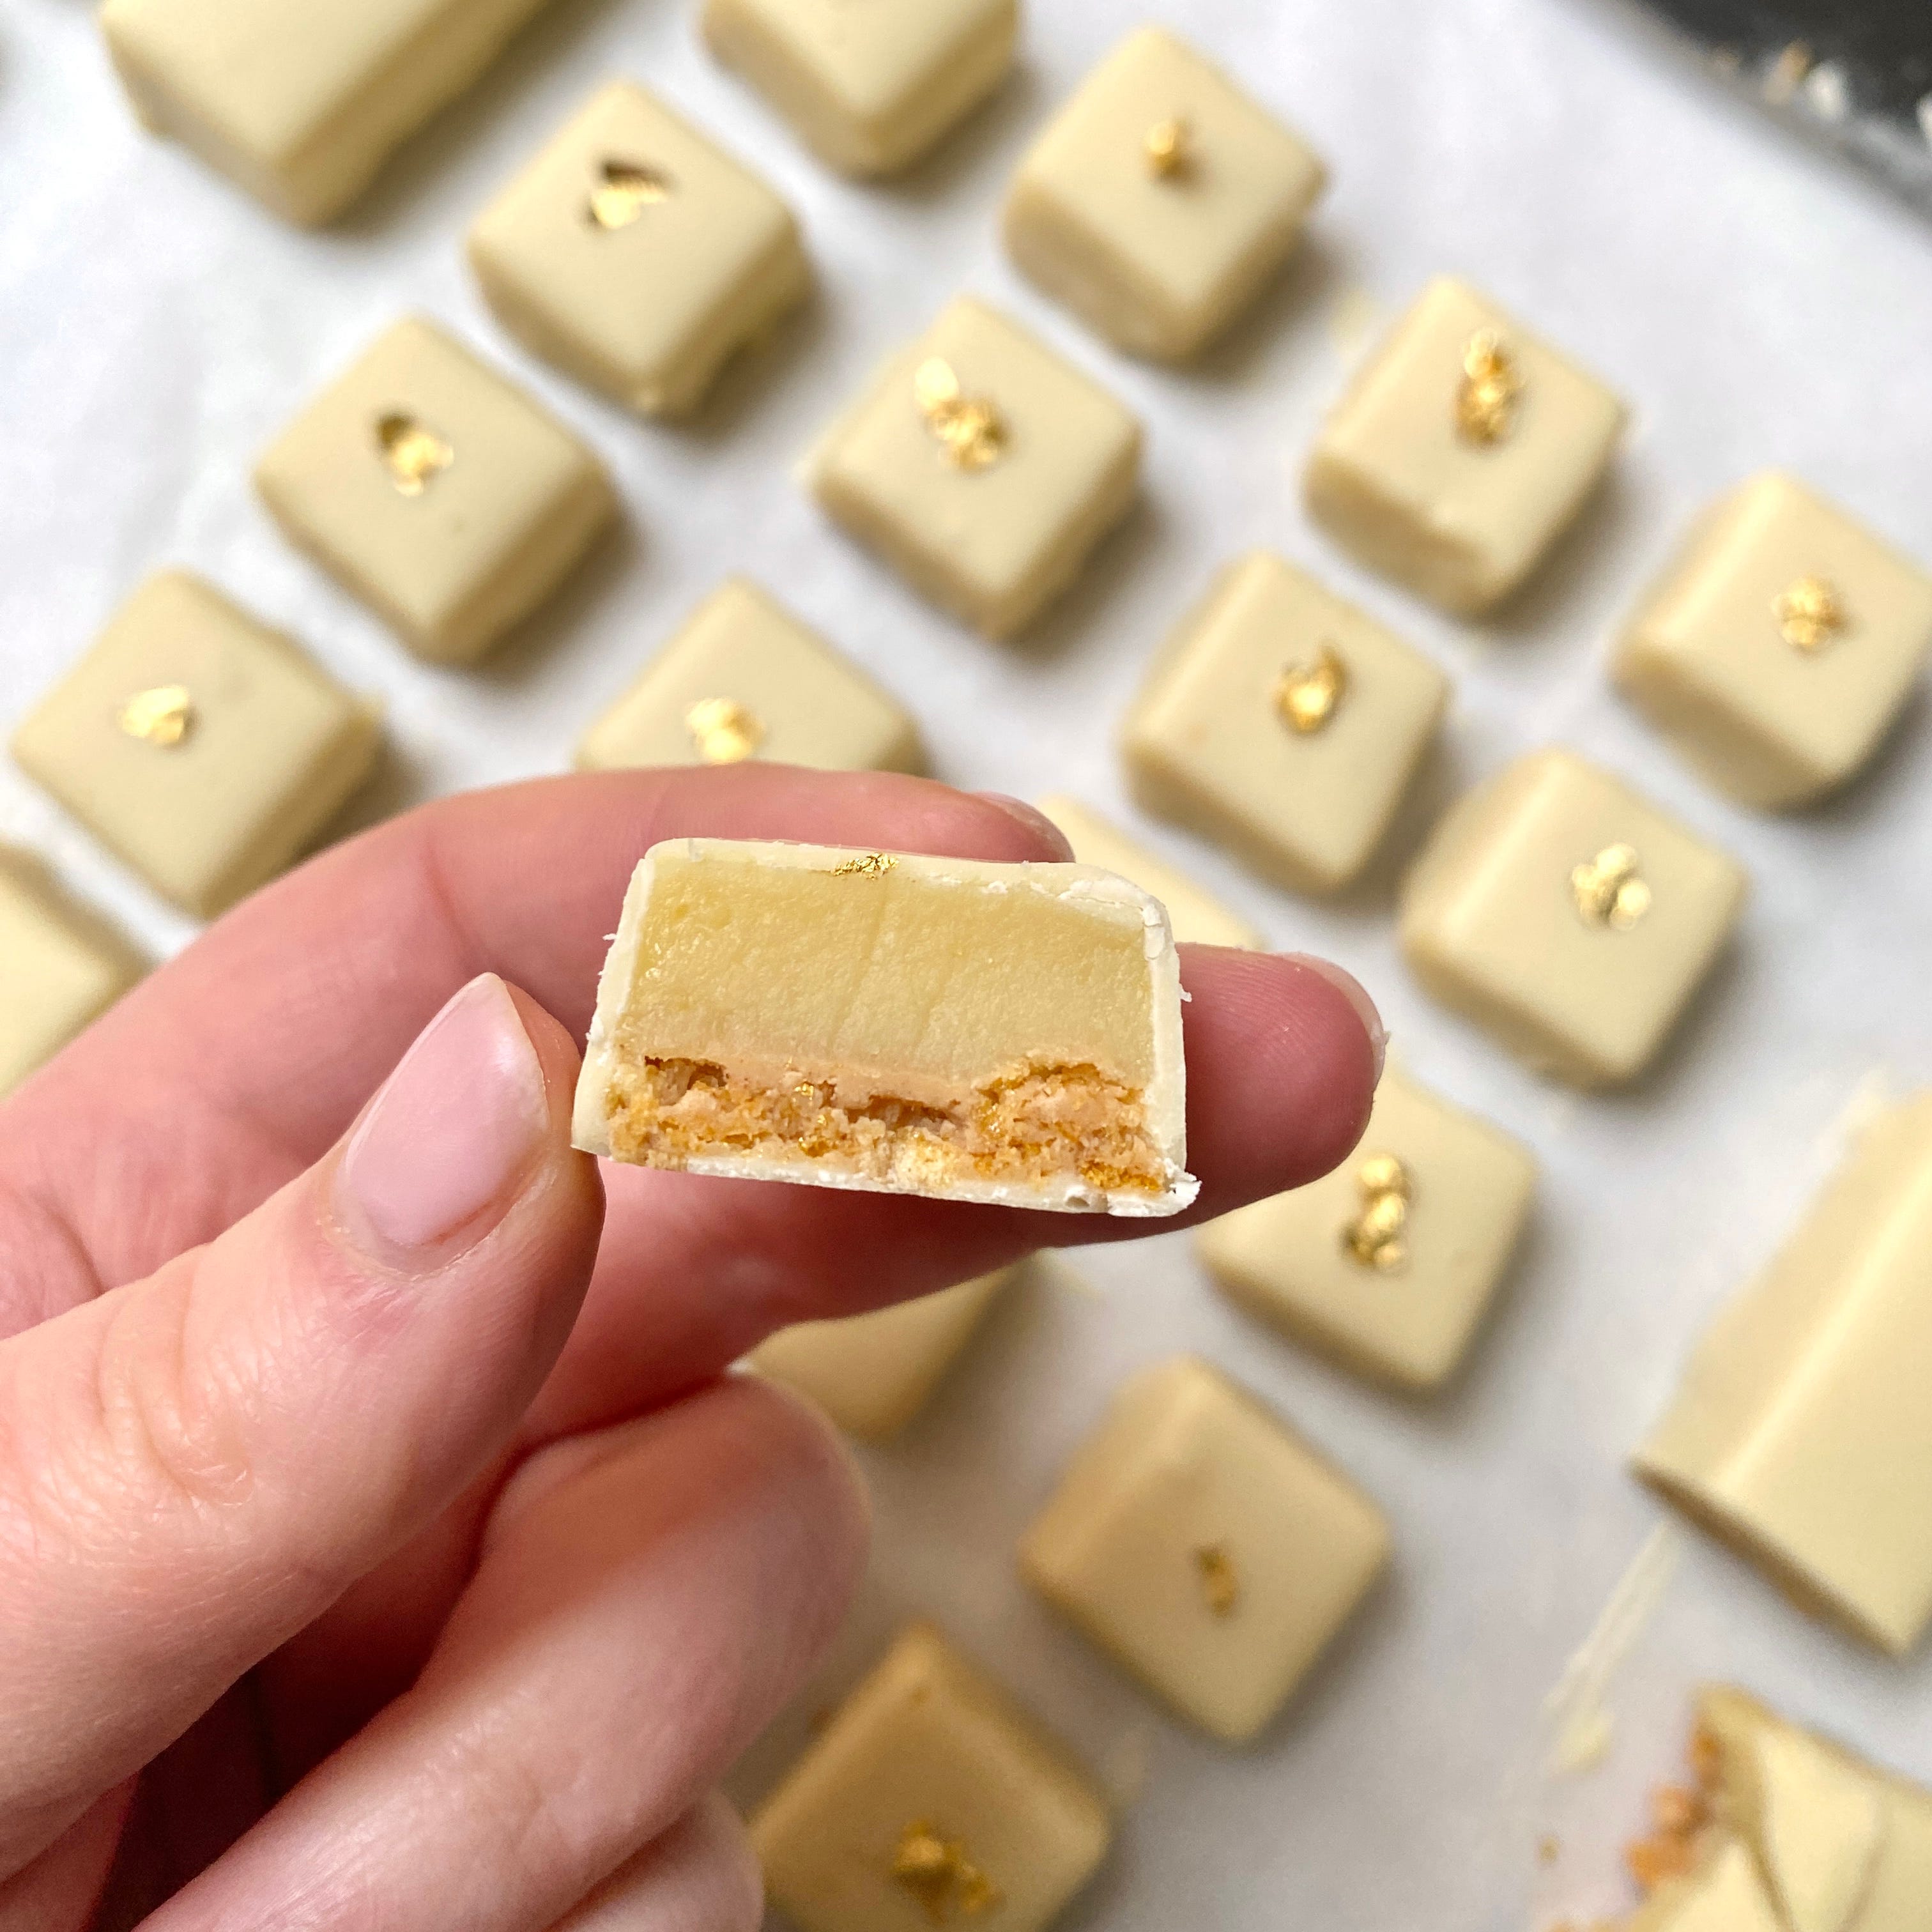
For paid subscribers, I’ve got two dipped chocolate recipes, both inspired by breakfast! Click here to make them.
I won’t say that by the end of this post you’ll be a master chocolatier, because that simply wouldn’t be true. No one ever got good at anything just by reading about it, and, as with all things in life, practice makes perfect.
What Is Tempering?
Look, I’m not a scientist, so we’re not going to dive into complicated jargon that no one actually understands. We’re keeping it simple.
When it comes to tempering chocolate, only two elements really matter:
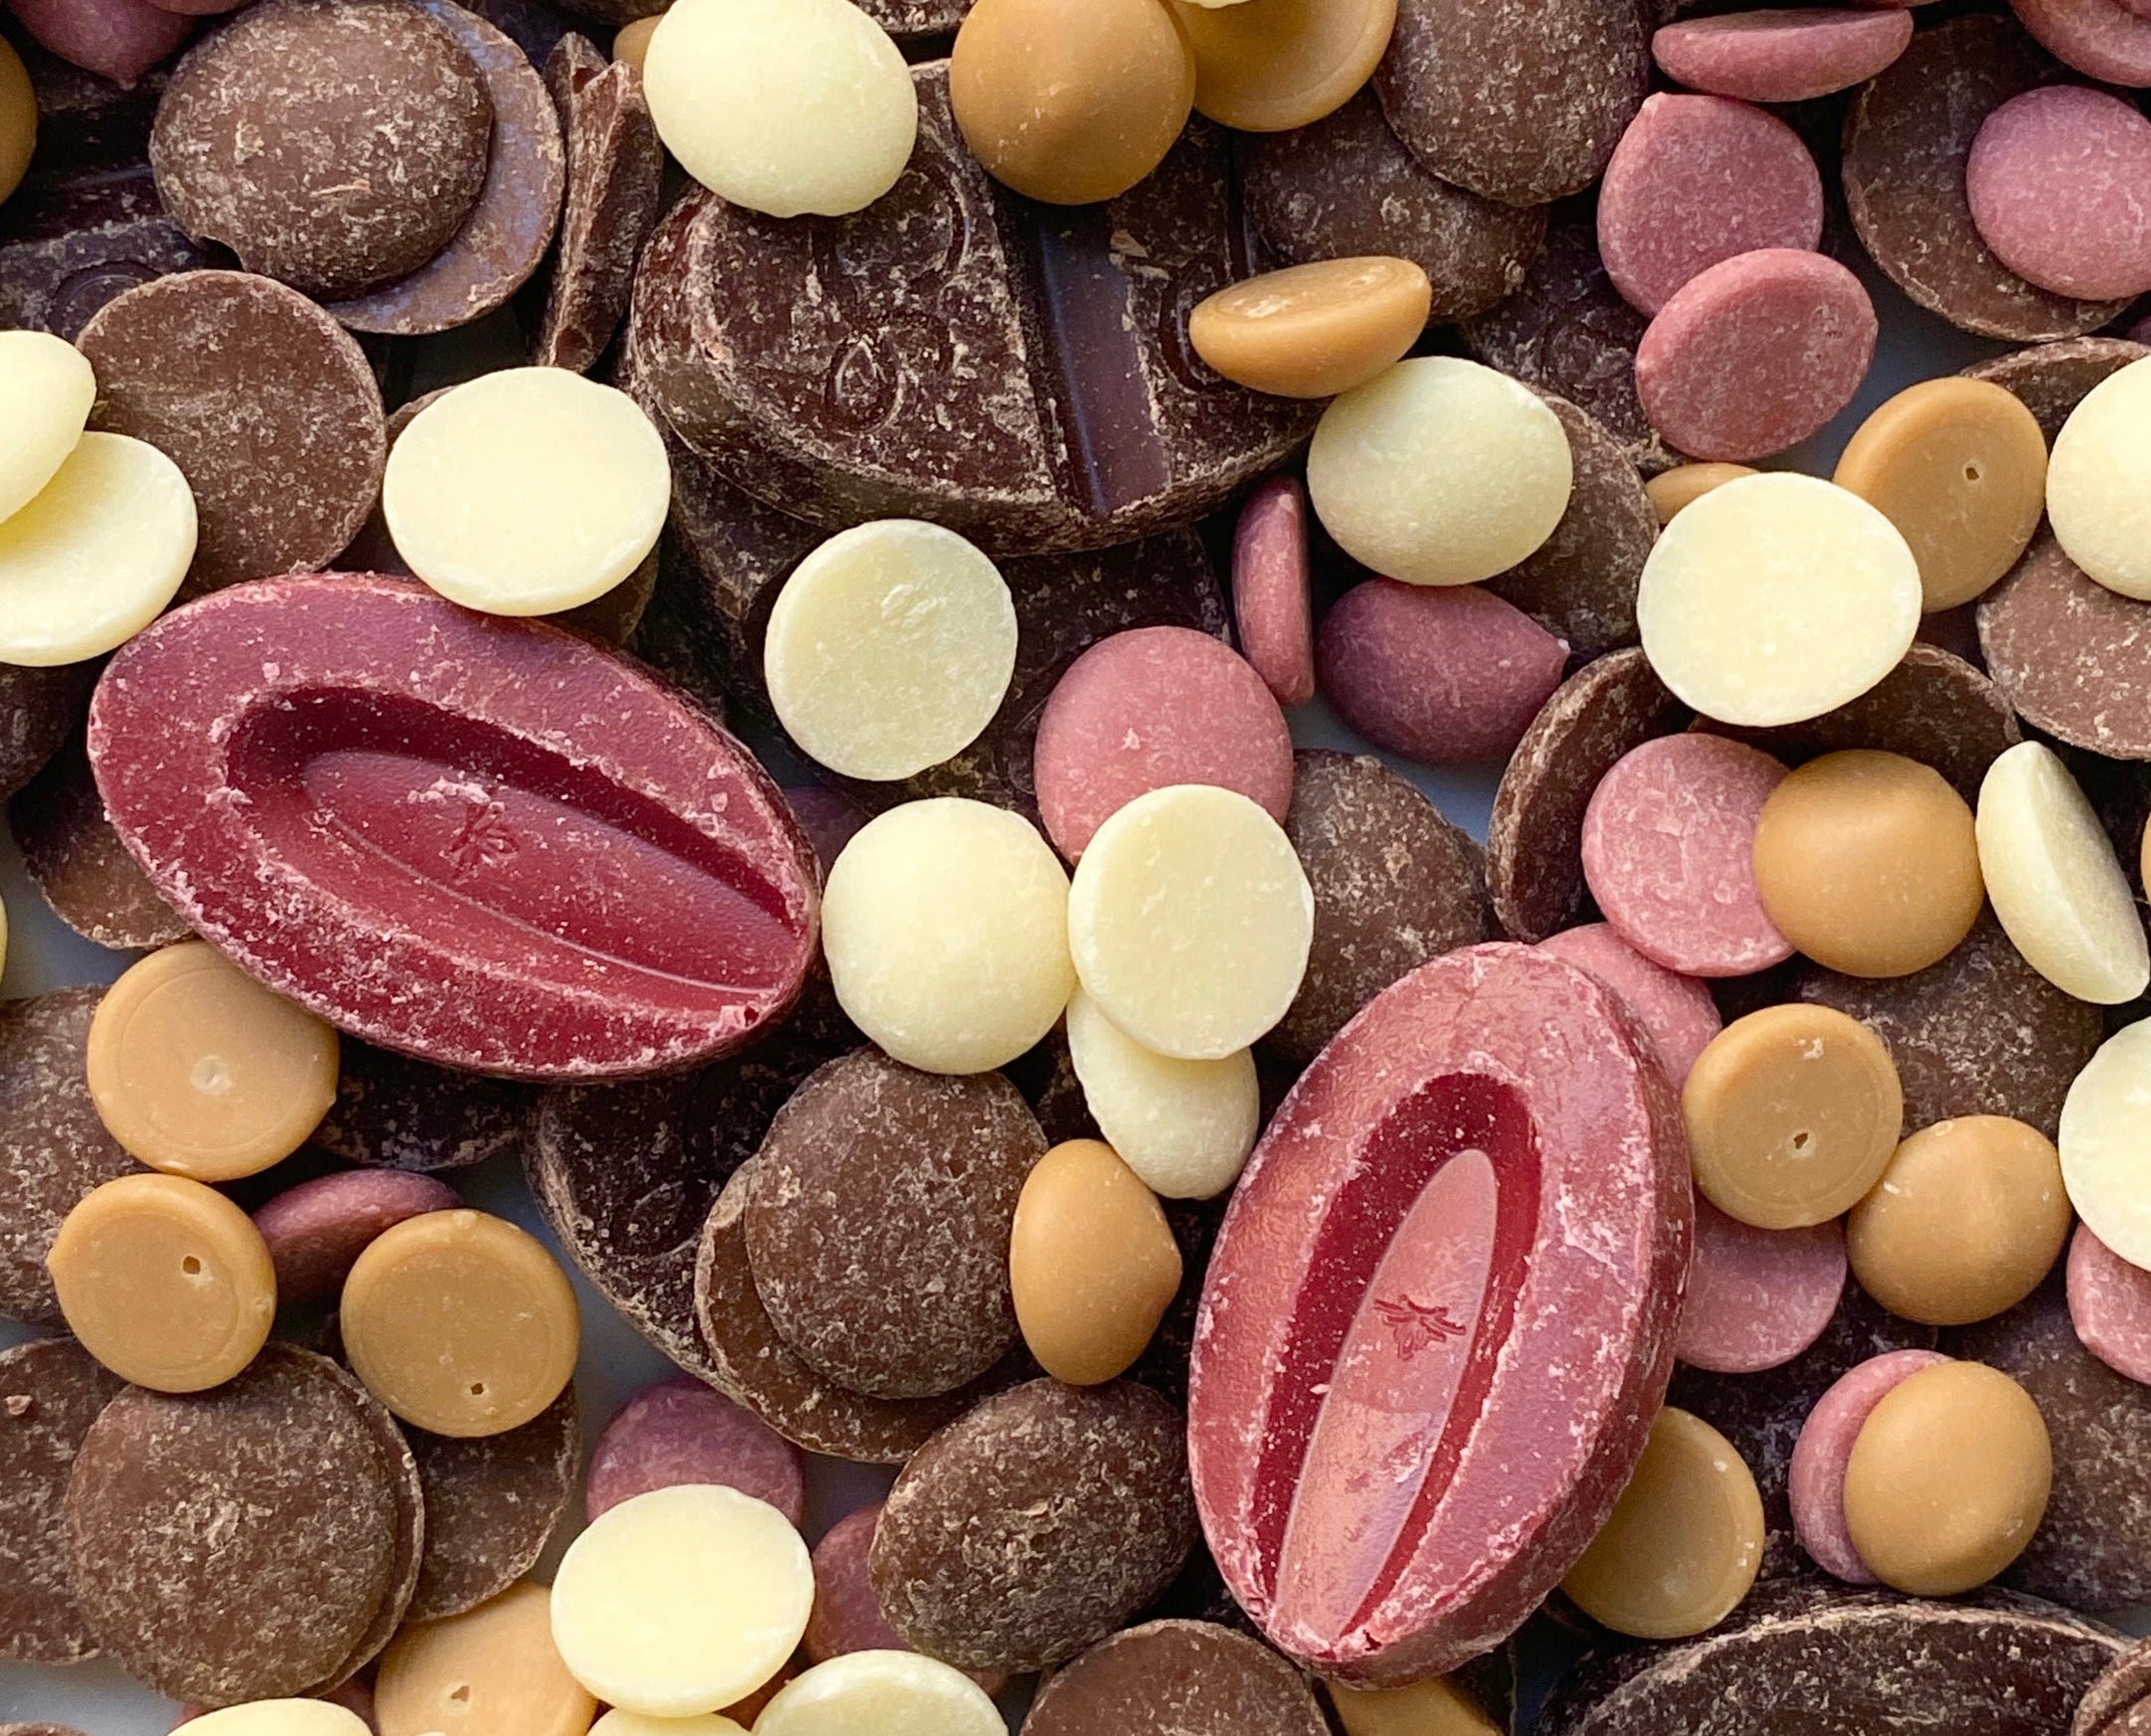
The fat – In good-quality chocolate, this is 100% cocoa butter. I wouldn’t recommend tempering chocolate that contains vegetable fats.
Everything else – A mix of cocoa, sugar, vanilla, and milk powder.
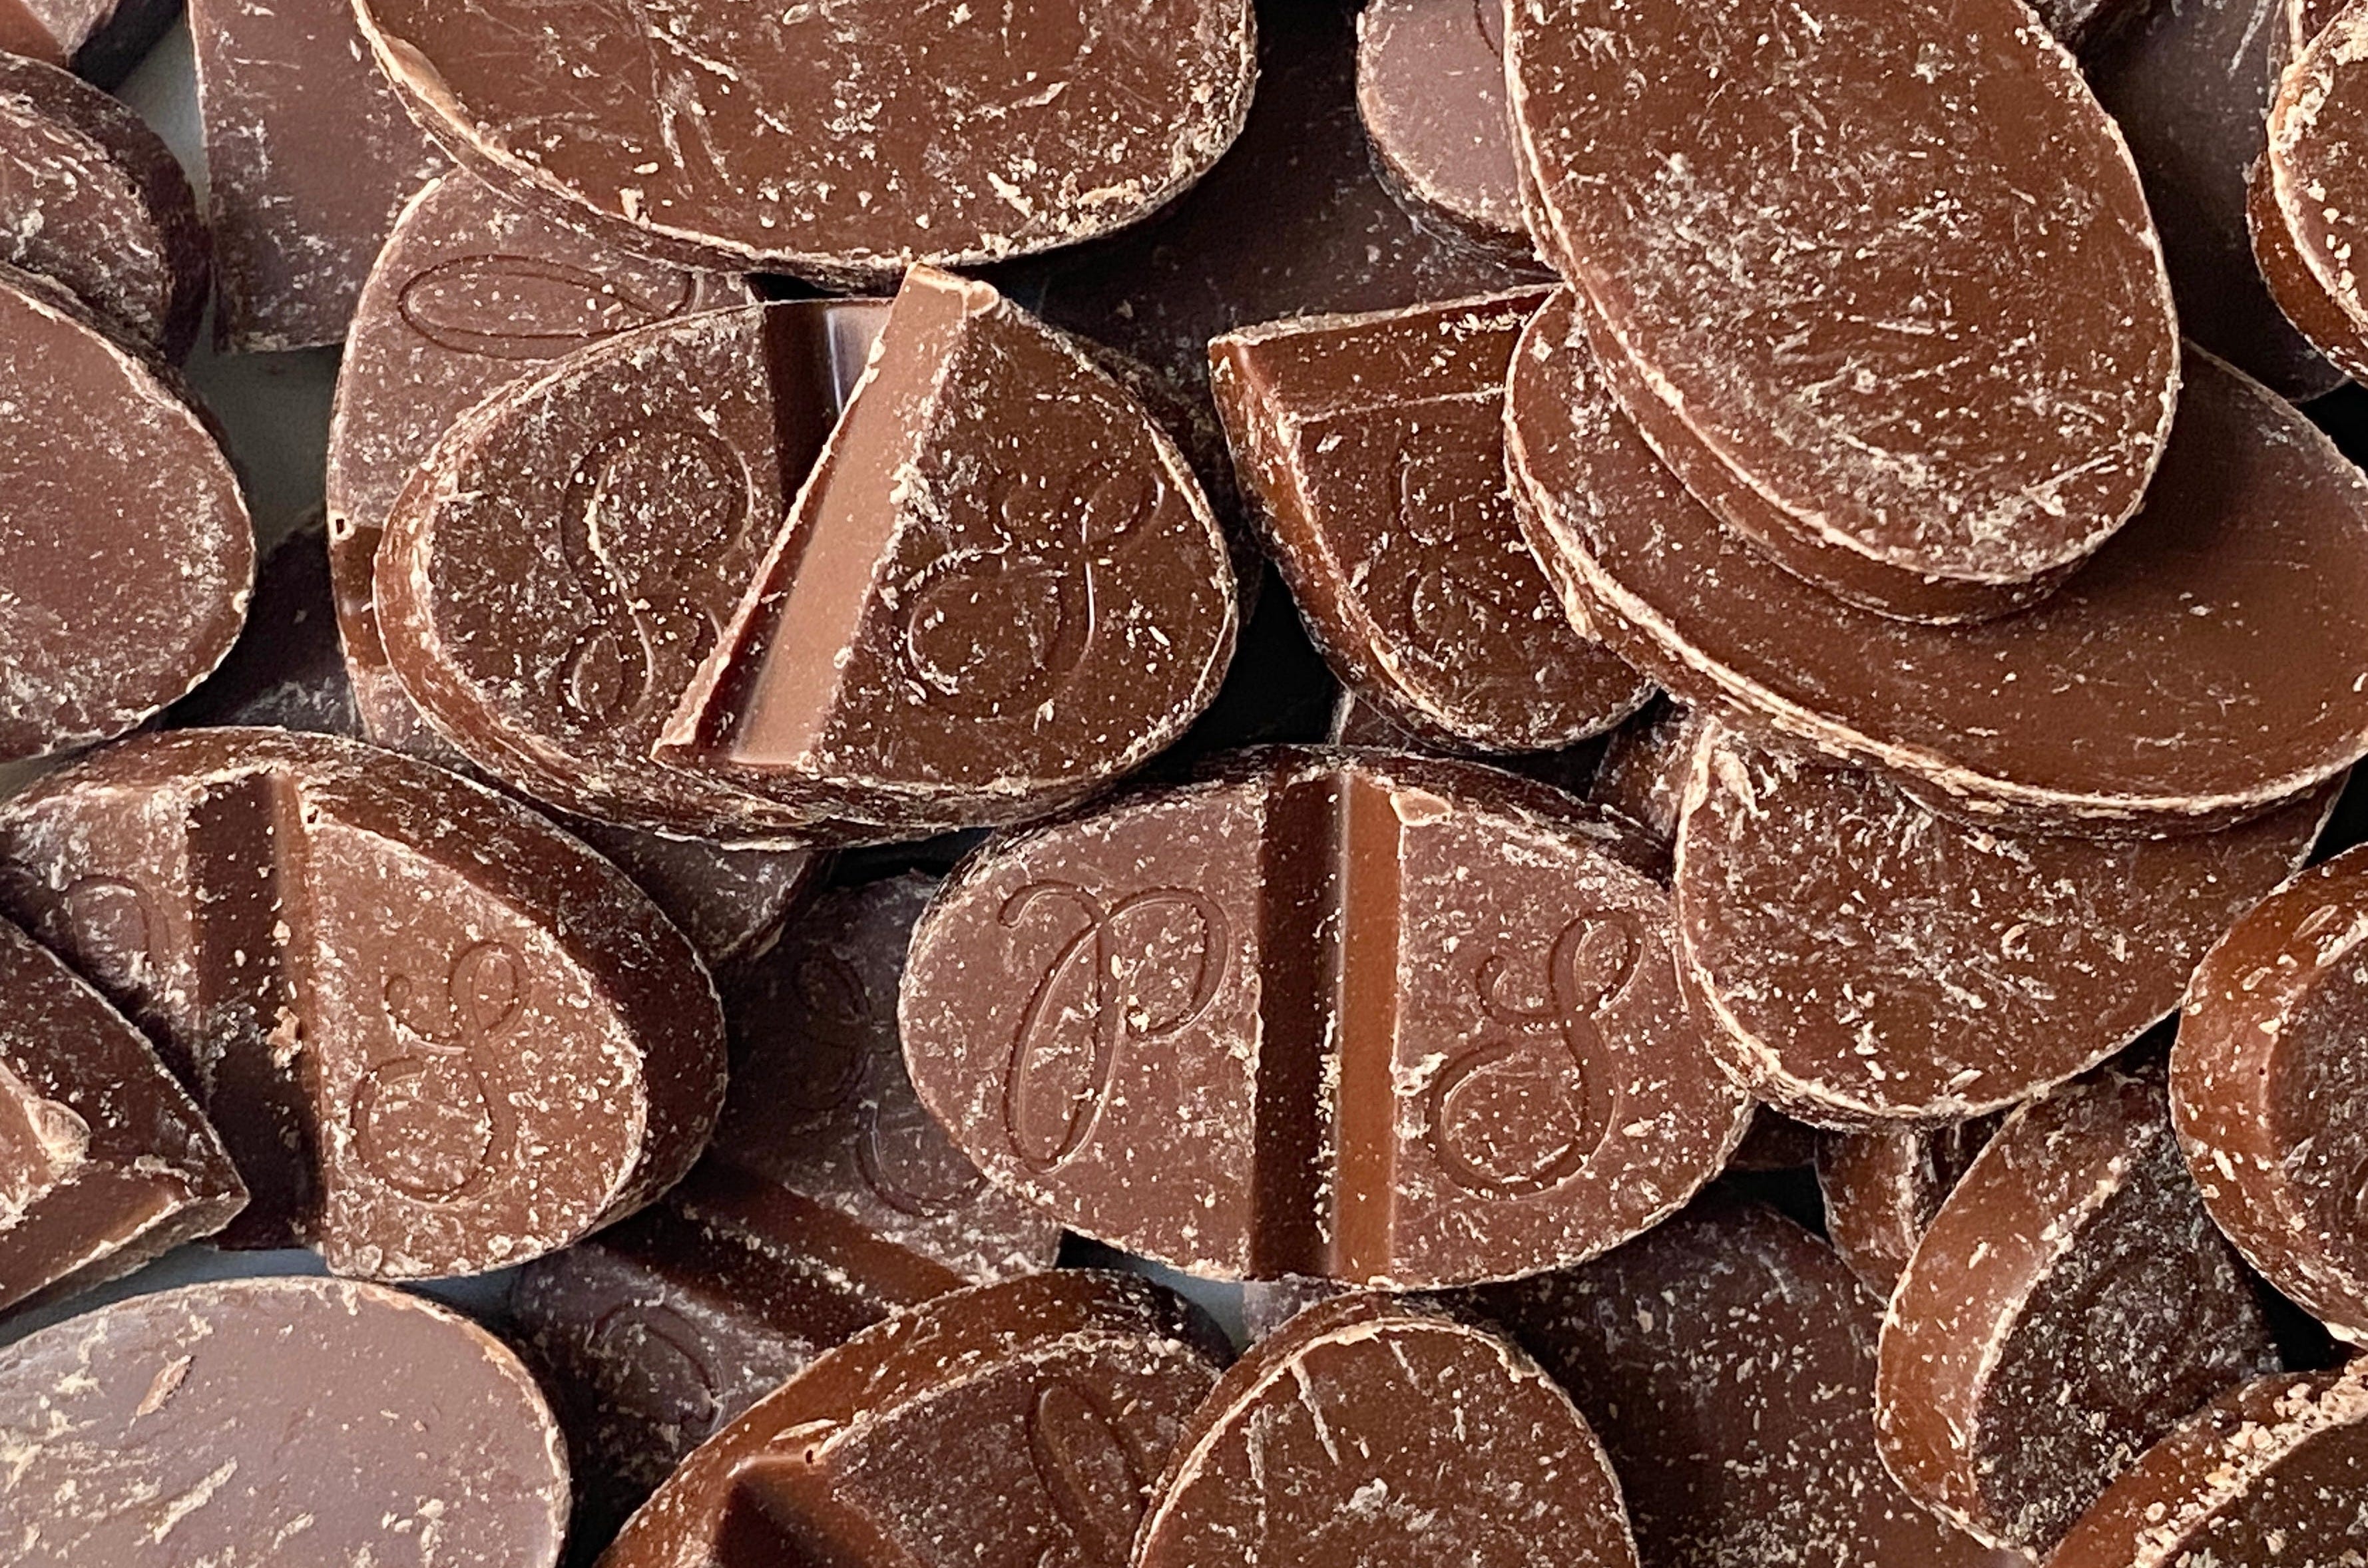
Tempering is all about controlling how cocoa butter sets. When chocolate melts, its fat crystals break down. As it cools and sets, these crystals can reform in six different structures, but only one of them (Form V, also known as the Beta-5 crystal structure) gives us properly tempered chocolate.
Tempered chocolate has a smooth, glossy finish, a satisfying snap when broken, and stays stable at room temperature
What’s The Point Of Tempering?
There’s no point in going to all of this effort to temper if we don’t even know why we’re doing it, so here’s a quick rundown of the main reasons:
Texture - Tempered chocolate has that classic "snap" when broken, while untempered chocolate has a lower melting point, making it more likely to be slightly bendy. This doesn’t just affect the taste, it also makes it incredibly difficult to handle. Ever made delicate chocolate decorations only to find they start melting in your hands before you can even place them on a cake? I have. Apart from being soft, untempered chocolate can also develop a crumbly, slightly gritty texture when eaten which is not ideal. We want smooth, creamy, melt-in-the-mouth chocolate.
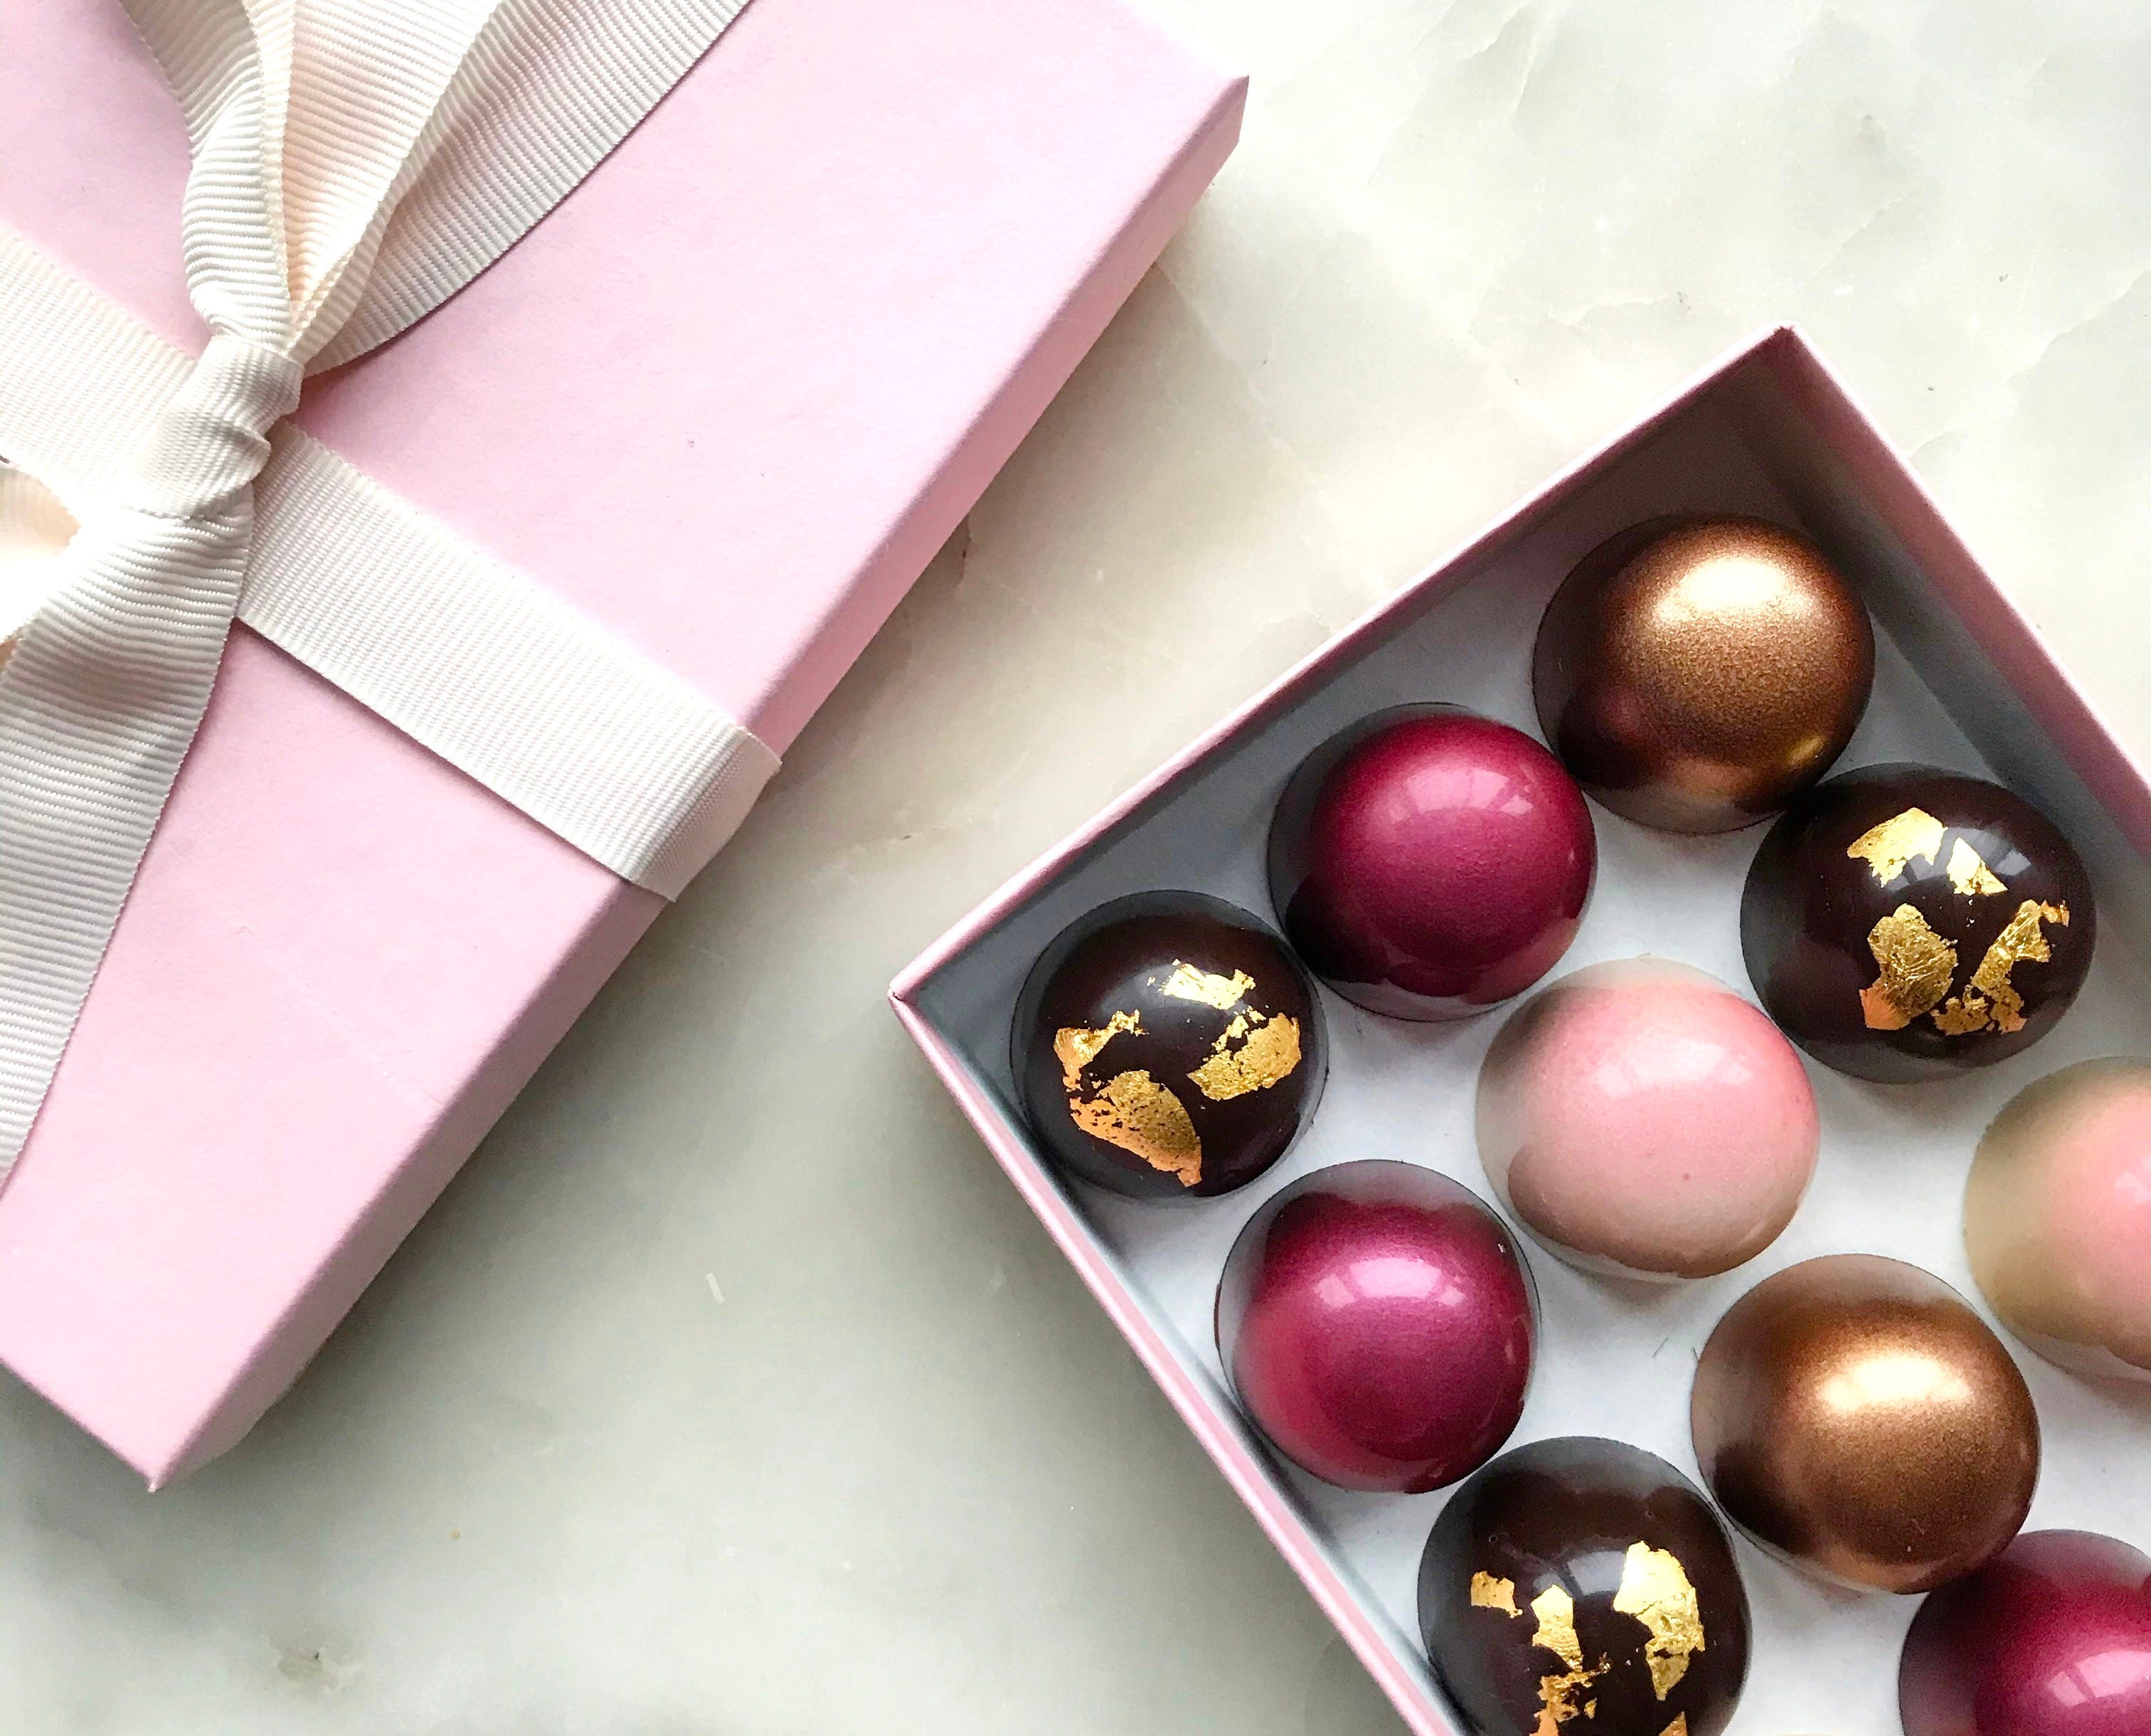
Appearance - If we want our chocolate shiny even finish, it’s essential that it is in temper. Out of temper chocolate is likely to have white streaks or blotches where the cocoa butter has risen to the surface. When making moulded items like easter eggs, it’s essential to use tempered chocolate in order to get that super shiny finish.
Shrinkage - This one mostly applies if you’re making chocolate bars or moulded bonbons, but it’s worth mentioning. Tempered chocolate shrinks slightly as it sets, meaning it will pop right out of a hard mould easily. Untempered chocolate doesn’t shrink and will be impossible to remove, you’ll have to pry it out with a spoon whilst crying as all of your hard work goes down the drain.
How To Temper
There are loads of different ways to temper chocolate, which we’ll get into later. But first, let’s quickly go over the basic steps that all tempering processes follow:
Heat the Chocolate - Start by heating the chocolate to the highest temperature range for the specific type of chocolate you’re using (see below). You can do this over a bain-marie (double boiler) or in the microwave. Either way, heat it gently. If you’re using the microwave, don’t heat it for more than 30 seconds at a time, and remember to stir between each burst. If using a bain-marie, the water should be just below boiling. Stir often to avoid the chocolate burning. If it does burn, try to pick out the worst bits and set the chocolate aside. Slightly burnt chocolate can be a bit gritty, but it's usually fine to use in things like cookies or biscuits. White chocolate is especially prone to burning, so be extra cautious with that!
Cool it Down - Next, cool the chocolate to the lowest temperature for your specific chocolate type. There are several ways to do this, which we’ll cover below.
Heat it Up Again (Optional) - This step is optional. Sometimes chocolate needs to be warmed up a few degrees to get it to the right consistency. At this point, your chocolate should be in temper, so it’s important not to overheat it. You can microwave it in 5-second bursts or use a hairdryer to gently heat the top of the chocolate while stirring. Both methods warm the chocolate surprisingly fast, so be sure to stir often and check the temperature regularly.
Check the Temper - Before using your chocolate, it’s essential to check that it’s in temper. There’s nothing worse than dipping a batch of chocolates, only to have them set streaky and blotchy! Thermometers aren’t always reliable, so here are two ways to check:
Touch Test: Touch a small amount of melted chocolate to the bottom of your lip (don’t do this in a professional kitchen!). The skin on your lip is very sensitive to temperature. If it feels cool, you're in the right range. If it feels warm or the same temperature as your lip, the chocolate is not in temper.
Spread Test: Spread a small amount of chocolate on a cool surface, like the back of a spoon or a cold countertop. If it’s in temper, it should set within a few minutes, forming a smooth surface with no streaks or blotches. If it’s not in temper, the chocolate will stay melted, sometimes setting on top but remaining soft underneath. If this happens, it’s definitely not in temper!

Well tempered chocolate

The Temperatures!
I’ve made two tables, one in Celsius and one in Fahrenheit, having both in one table was just too many numbers for my tiny brain to handle!
Celsius

Fahrenheit

Types Of Tempering
As you’ll see, there are loads of different ways to temper chocolate. I don’t think one method is better than another, it’s all about what works best for you. I know plenty of talented chocolatiers who all use different techniques, so I’d recommend experimenting with a few and seeing which one you prefer. To keep things simple, I’ll be using milk chocolate temperatures as examples for all of the methods, but keep in mind that these will vary depending on the type of chocolate you’re using, so always refer back to the temperature tables!
So, let’s take a look at the different ways to temper chocolate…
Seeding
Seeding involves heating a portion of the chocolate (usually about two-thirds) to the highest temperature, then adding the remaining unmelted, tempered chocolate. You stir until all the chocolate is fully melted and reaches the correct temperature.
Note: Any chocolate you buy, whether in chips or bars, will already be in temper.
How To
Heat two-thirds of your chocolate to the highest temperature.
Add the remaining one-third (it’s a good idea to have a little extra unmelted chocolate in case you need more) and stir until the chocolate melts and reaches the lowest temperature.
You’ll need to really push the solid chocolate pieces against the side of the bowl to encourage them to melt. This may take a little while, so don’t be discouraged, just keep going.
To bring the chocolate up to working temperature, gently heat it. You can either use a hairdryer or heat it in the microwave for 5 seconds at a time.
Troubleshooting
If you’ve added all of your unmelted (seed) chocolate but the temperature is still too high, you can either add more unmelted chocolate or use the bowl method (see below) to further cool it.
If you're struggling to break up the lumps but the temperature is still high, you can use a stick or immersion blender to help melt the seed chocolate. Be aware, though, that this may introduce air bubbles.
If you accidentally heat the chocolate past the maximum working temperature, you’ll need to start the process again.
Pros: No mess, beginner-friendly, good for large batches.
Cons: You need at least 1/3 of your chocolate to be suitable for seeding (in temper, solid and finely chopped or in small chips).


Microwave
This method is essentially the same as seeding, but instead of separating the chocolate, you microwave all of it at once. The microwave heats the chocolate unevenly, so some of it will reach the highest temperature while the rest remains unmelted and acts as "seed." I use this method a lot!
How To
Place all your chocolate in a microwave-safe bowl.
Microwave in 30-second bursts, stirring between each burst. Repeat until about two-thirds of the chocolate is melted and one-third remains unmelted, this can be tricky to gauge by eye, it’s better to have it less melted than too melted! You can always pop it back in the microwave.
Stir until all of the chocolate is completely melted. You will really need to work the chocolate by stirring and pressing the solid pieces against the side of the bowl to help them break down.
If necessary, return the bowl to the microwave for 5-second intervals, but make sure the temperature doesn’t exceed the highest working temperature!
Trouble Shooting
If all the chocolate melts but the overall temperature is still too high, add more unmelted chocolate or use the bowl method (see below) to cool it down further.
If you’re struggling to break up the lumps but the chocolate temperature is still high, you can use an immersion blender to help melt the chocolate. However, be aware that this can introduce air bubbles.
If you overheat the chocolate beyond the maximum working temperature, you will need to start the process over, this time using a different method. The microwave method only works when starting with solid, untempered chocolate.
Pros: No mess, simple, good for small to medium batches.
Cons: Microwaves can be temperamental and if you overheat your chocolate you will have to re-temper the entire thing.


Table Tempering
This method involves heating the chocolate to the highest temperature and then spreading it on a marble or stone surface to quickly bring the temperature down.
How To
Heat your chocolate to the highest temperature.
Pour about two-thirds of the chocolate onto a clean, dry marble or stone surface.
Use a palette knife to spread the chocolate out, then scrape it back into the centre with a large metal scraper. Clean your tools by scraping them against each other.
Continue spreading and scraping, keeping the chocolate moving at all times, until it reaches the lowest temperature for tempering.
Add the cooled chocolate back into the one-third you set aside (the warmer chocolate), and mix well. The chocolate should now be at the perfect temperature for use.
Trouble Shooting
If you add your chocolate back into the warm chocolate and the overall temperature rises too much, you can either spread the mixture back out onto the table or use the bowl method (see below) to cool it by a few degrees.
Pros: No lumps, you look super cool doing it.
Cons: Makes a huge mess, need a large marble or quartz surface, not ideal in a very cold kitchen, my quartz worktop sits at about 13°C/55°F in the winter and I find that my chocolate sets up incredibly fast.


Bowl Tempering
This is a method I’ve only recently been introduced to, and I absolutely love it! It follows the same principles as table tempering but with considerably less mess and without needing a marble slab. I can’t imagine this method working well in a hot, humid kitchen, but it works great when you need to bring the temperature down by just a few degrees. It also works as a standalone method if you're working in a cool kitchen (20°C/68°F or lower) and with no more than 500g of chocolate.
How To
Heat your chocolate to the highest temperature.
Transfer it to a cool metal bowl (room temperature is fine, just ensure it hasn’t come straight out of a hot dishwasher or been sitting in the sun).
Spread the melted chocolate up the sides of the bowl, scrape it back into the bowl, and mix. Repeat this process until the chocolate is at the lowest temperature. Spreading the chocolate against the cool bowl helps bring the temperature down.
Gently warm the chocolate to working temperature.
Trouble Shooting
If you’re struggling to get the temperature of your chocolate down, you can do this process over a bowl of iced water. Just be very careful not to get any ice in your chocolate and keep the chocolate moving at all times to prevent it from setting on the bottom of the bowl.
If you just need to cool the chocolate by a few more degrees, you can transfer it into a clean, cool bowl. This will add more washing up, though, which is annoying!
Pros: Minimal mess, no lumps.
Cons: Slow process, only good for smaller batches.


Mycryo
This method relies on Mycryo, a product from Callebaut. Mycryo is simply cocoa butter in a fine powder form. Adding it to chocolate once it’s already partially cooled acts in the same way as seeding, but with much less work. While Mycryo is a branded product, there’s no reason why you couldn’t do the same with any finely ground cocoa butter from another brand.
How To
Heat your chocolate to the highest temperature.
Set it aside to cool to 34°C/93°F. You don’t need to do anything special to cool it down; just leave it at room temperature, stirring occasionally.
Add 1% of the total weight of your chocolate in Mycryo. For example, if you have 500g of chocolate, add 5g of Mycryo.
Mix well until fully combined.
Once the chocolate reaches working temperature, it’s ready to use.
Trouble Shooting
This method is fairly foolproof, as long as you get your temperatures right.
If you forget about your chocolate and it cools too much before adding the Mycryo, you can always warm it back up slightly.
Pros: Very easy, not at all labour intensive, no lumps, adds a bit more fluidity to the chocolate.
Cons: Expensive to buy, not a good method to rely on long-term, you need to know how to temper without it.


Gentle Melt
This isn’t technically tempering; it’s just melting chocolate so gently that it never goes out of temper. I wanted to mention it because I’ve seen it pop up as a method in various places. There are several ways to achieve this, but the key is to ensure the chocolate never gets hotter than the highest working temperature. I find this method is only convenient if you have a warm enough space. At one of my previous jobs, there was a perfect spot on top of the coffee machine where we’d leave a small pot of chocolate during service, using it to write birthday messages on plates.
How To
If your oven has a prove or defrost setting around 30°C/86°F, you can place a bowl of chocolate in there, stirring occasionally.
Alternatively, vacuum-seal your chocolate in a sous-vide bag. Set your sous-vide machine to the working temperature of your chocolate and leave it to melt.
Pros: Low effort
Cons: Takes so long! Impractical unless you have an oven with the correct settings or a sous vide machine, unnecessary use of single use plastic, not good for large batches.
Different Chocolates
Depending on what you'll be using your tempered chocolate for, it’s important to make sure you're using the correct fluidity. When I temper, I almost always try to use a relatively fluid chocolate. This is especially crucial if you're dipping chocolates or making moulded chocolates. It doesn’t matter as much when dipping biscuits or coating truffles, but it's always worth keeping in mind.
Working with a chocolate with a very low fluidity is a pain in the bum, for example Callebaut 70% is especially bad, it’s thick and gloopy when melted, I would avoid tempering with it at all costs!
So, how do you know the fluidity?
Unfortunately, the cocoa solids percentage isn't a good indicator of whether the chocolate will have a good or bad fluidity, so that's no help.
In my experience, I mostly work with Cacao Barry chocolate. Cacao Barry is the sister company of Callebaut, and they provide a fluidity scale on all of their chocolates, which is incredibly helpful. For tempering, I always make sure to choose a chocolate that's at least 3/5 on their fluidity scale, but my preference is for 4/5.


While other chocolate brands don’t always have a fluidity scale, they usually include a list of recommended applications. If it’s not on the packaging, you should be able to find this information online. As a general rule, if moulding, bars, or coating are listed as suggested applications, you should be good to go!
For tempering, I personally like Valrhona's Guanaja 70%, Caraïbe 66%, and Ivoire 35%, they all work beautifully.
If you’re tempering with supermarket chocolate, the fluidity can be completely hit or miss. I always recommend tempering at least 500g at a time, so in my opinion, it’s worth investing in a 1kg bag of chocolate that you know will temper well.

I think this is it!? I’ve finally ran out of things to say about tempering. I really hope that you find this post helpful and please do let me know if you have any tempering questions! And let me know what other chocolate posts you’d like to see, I’m planning on a moulded chocolates post for around Easter so we can make our own eggs and maybe a chocolate decorations post if people are interested?
If you fancy practicing some tempering here are a few of my recipes that use tempered chocolate:
Cherry & Cranberry Florentines
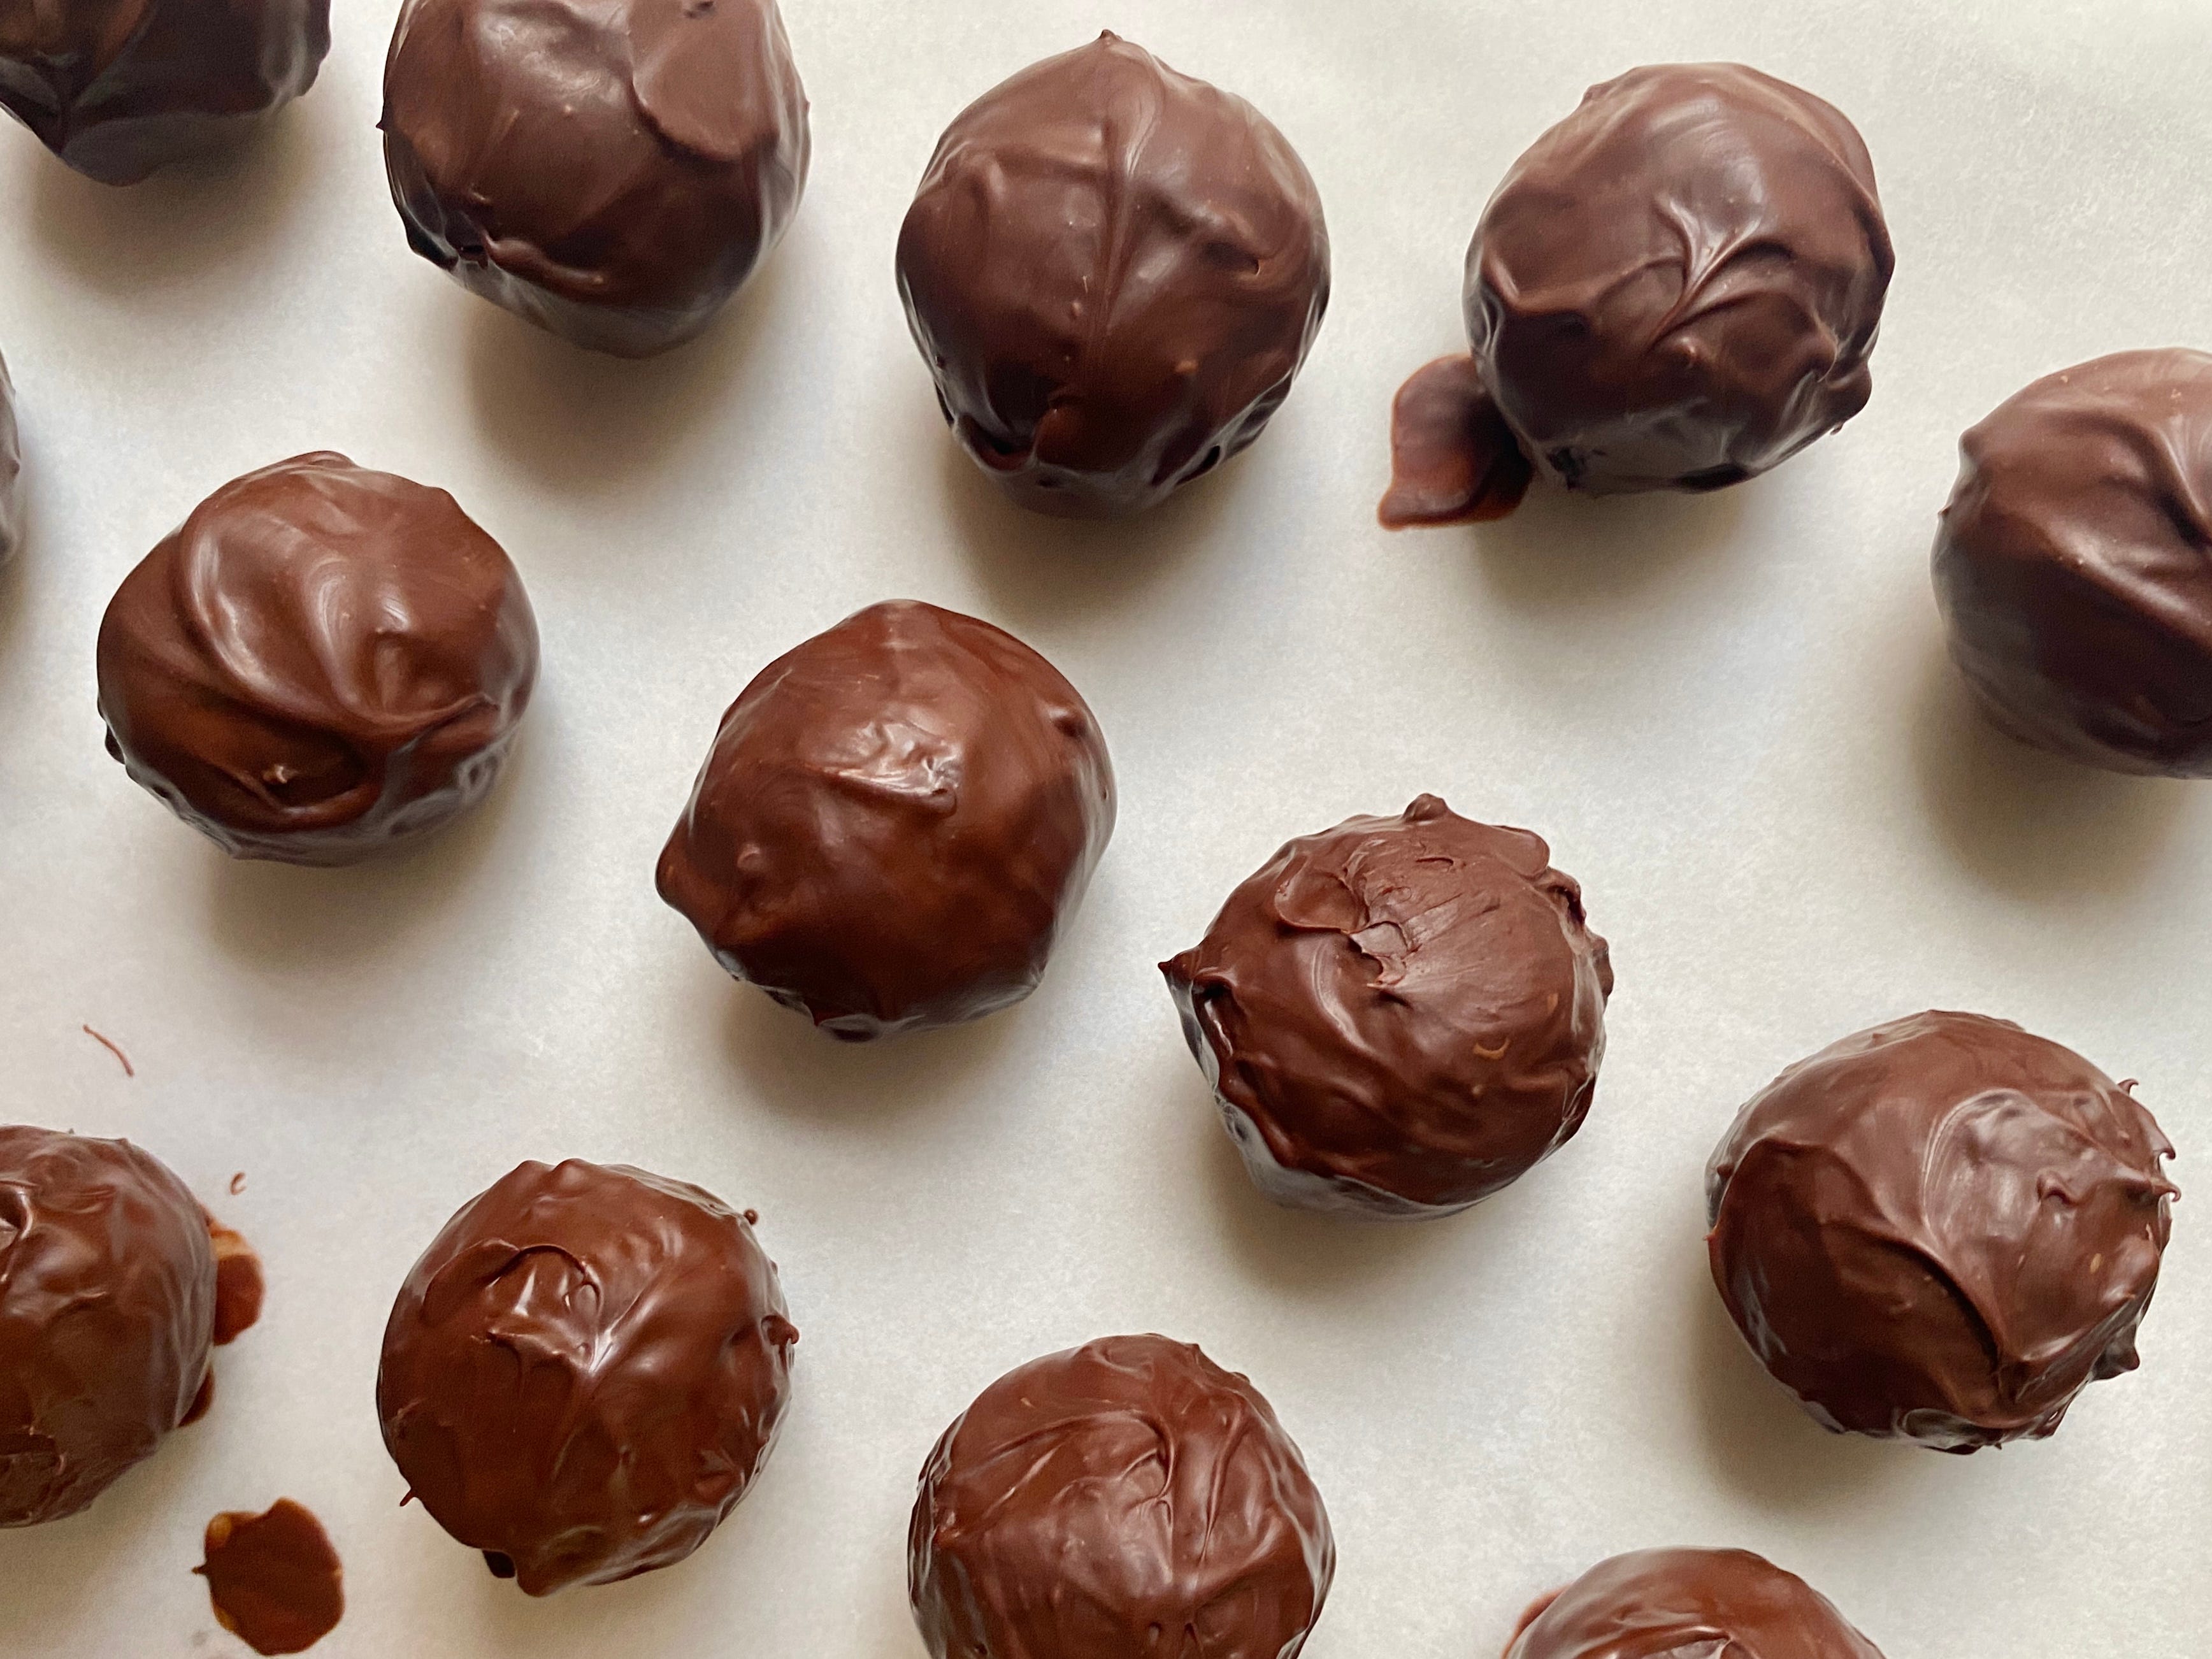
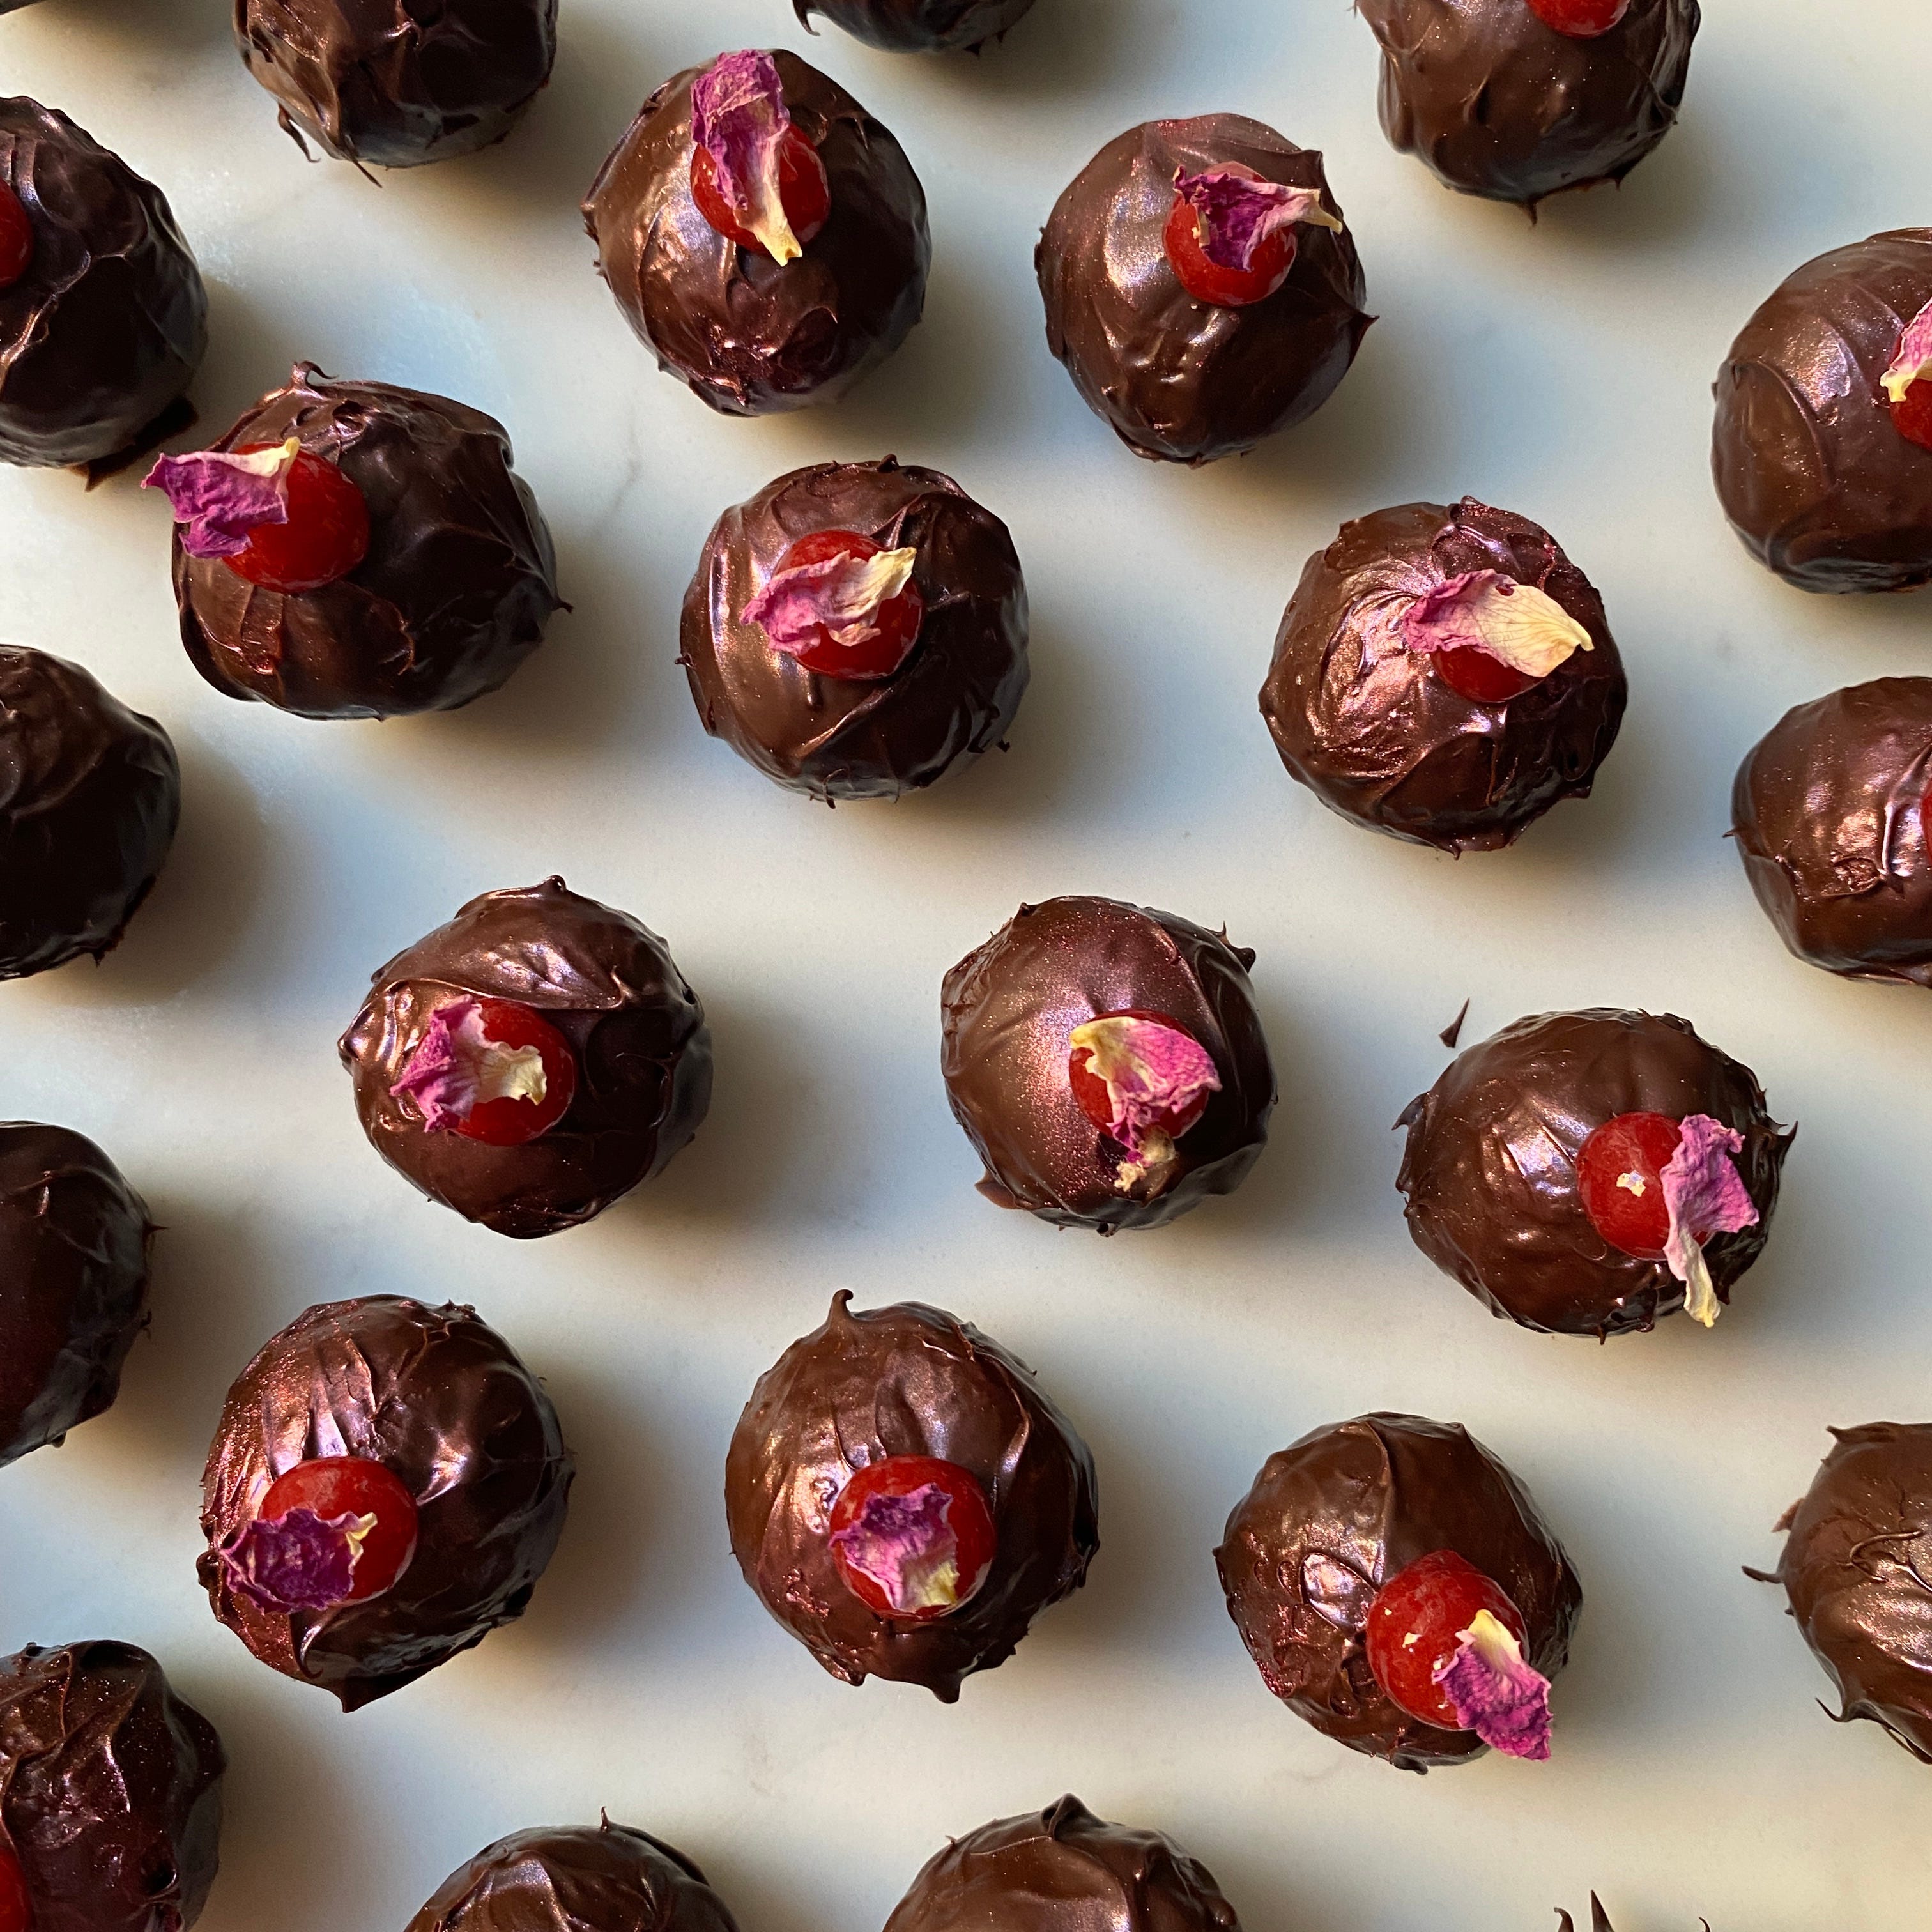
Raspberry Truffles (free recipe)
Nutty Chocolate Biscotti (free recipe)
If you enjoyed this post and want to support my work please like, comment or share! It really helps my newsletter to grow so that I can continue to create and share free content without relying on paid ads. Thank you so much!🩷
You are an incredible resource! I feel like I've just hit gold!
Thank you for this mammoth post. Always so interesting and full of inspiration